I love cherry blossoms. Growing up outside of Washington, DC, the cherry blossoms have…
How to Make a Whimsical Snowy Tree Felt Softie #SewaSoftie
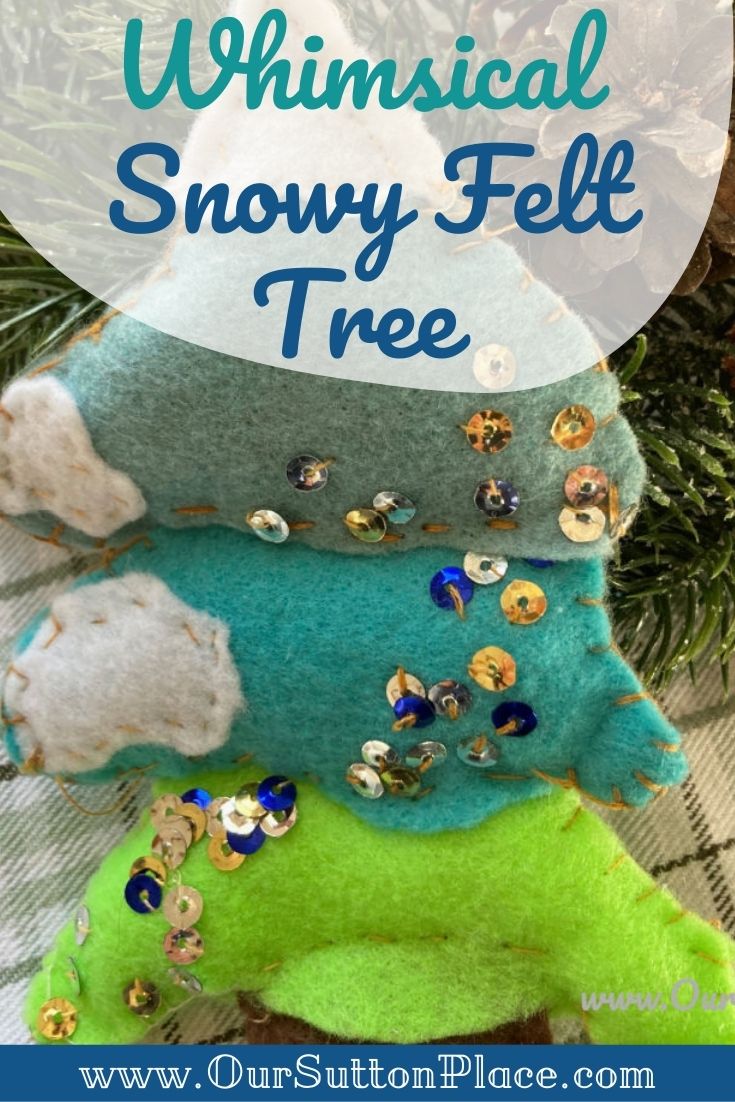
This Festive and Whimsical Snowy Felt Tree Snowy is a great DIY craft for kids and or parents. It can be bedazzled with colored sequins for a more festive Christmas flare or kept more neutral for a winter look. Easy and FREE pattern download is included!
We’re excited to be participating the Holiday edition of Sew a Softie.
Sew a Softie is an initiative founded by Trixi From Sew a Softie to inspire kids (and their parents) around the world to sew. Please join in and sew a softie, and don’t forget to tag #sewasoftie @sewasoftie (on Instagram) so we can see what you sew!
How we chose our Whimsical Snowy Tree Design
Many, many, years ago (shortly after I had graduated from college) I came across the beautifully illustrated children’s book title “Rhino’s Who Snowboard.” I had just moved out to Colorado to become a ski bum and thought this book was super fun.
I was inspired by the illustrations to paint my little cardboard drawer unit with fanciful designs like the illustrations….and because I never throw anything away, I still have that artful unit.
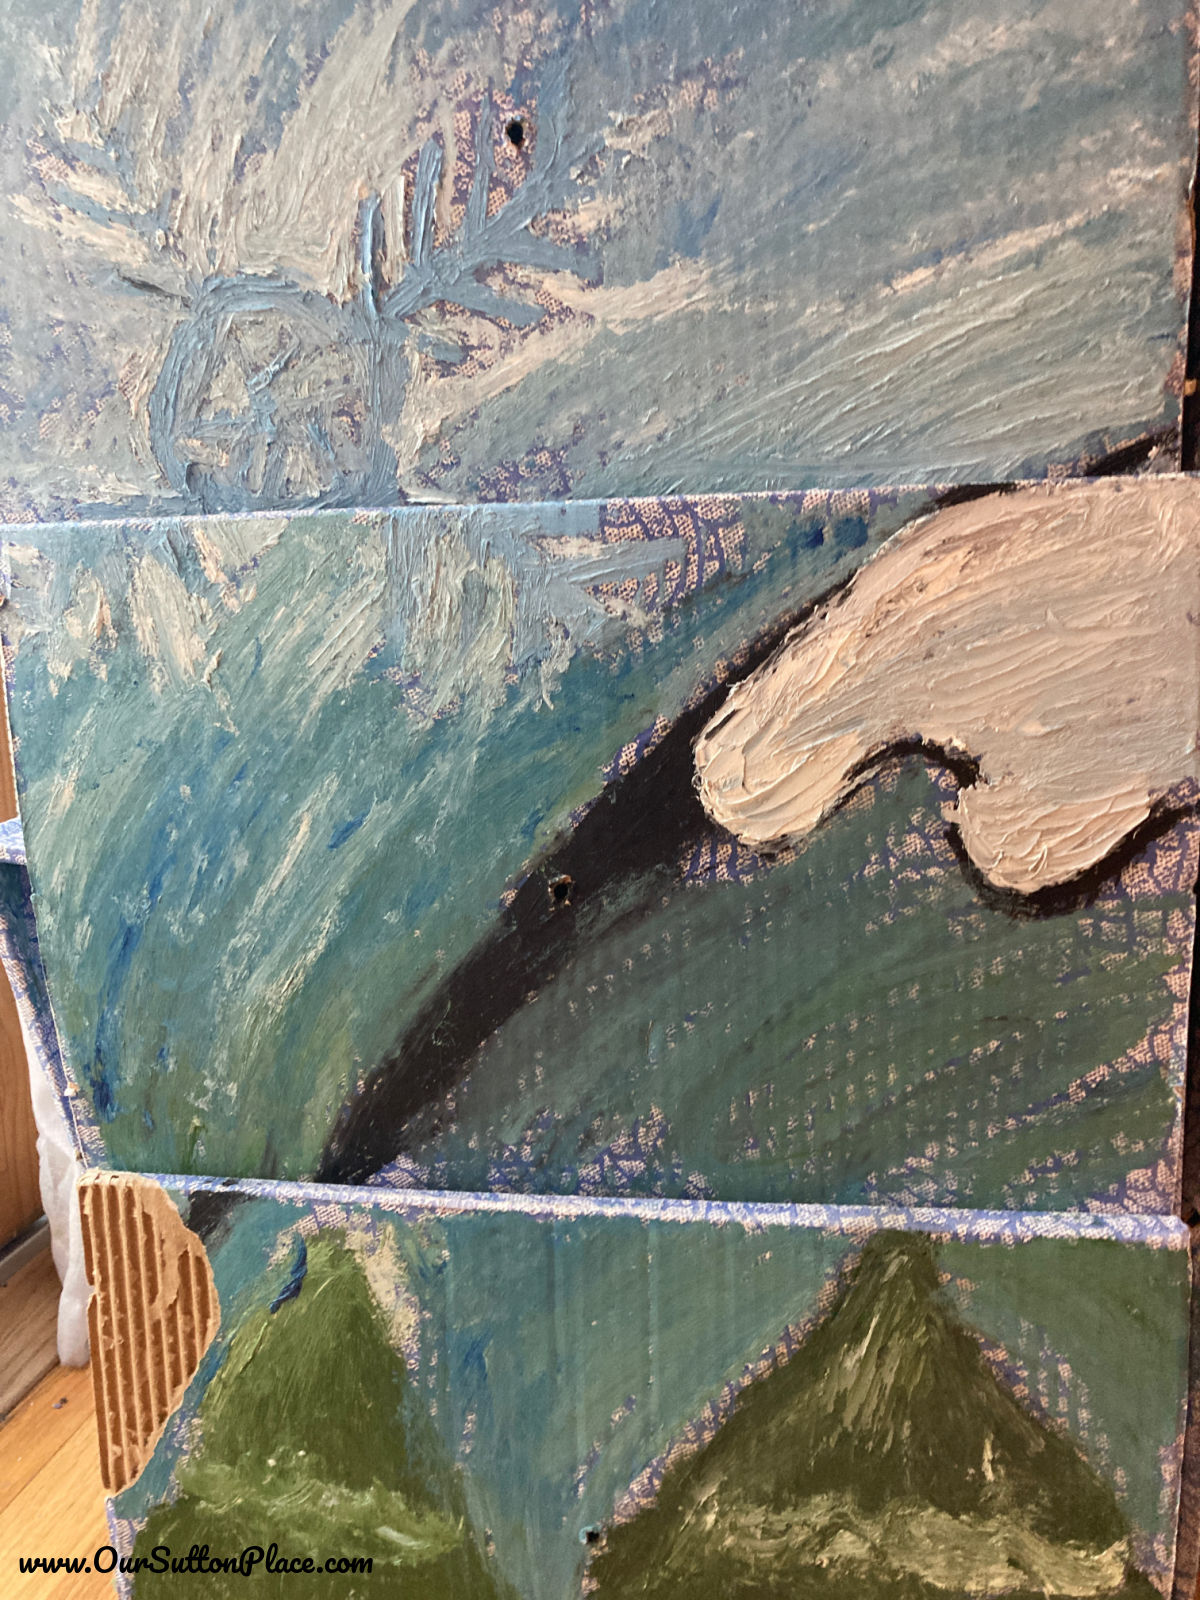
Ever since I discovered that book and painted that drawer unit, I’ve found myself continually drawn to whimsical mountain designs.
They’re so peaceful and magical and filled with joy.
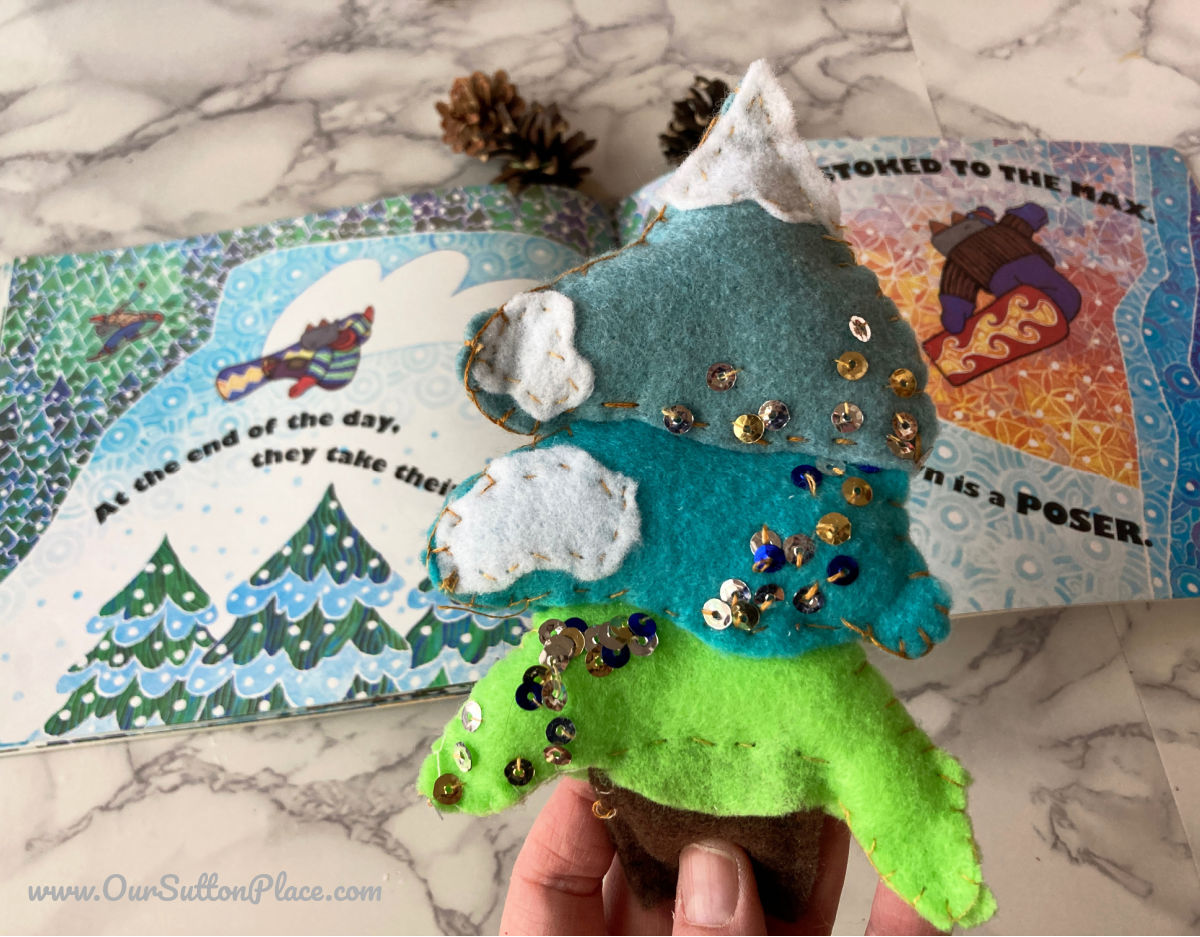
So this year, I decided to try and recreate those painted trees from long ago in the form of felt.
How to Snowy Tree Felt Softie
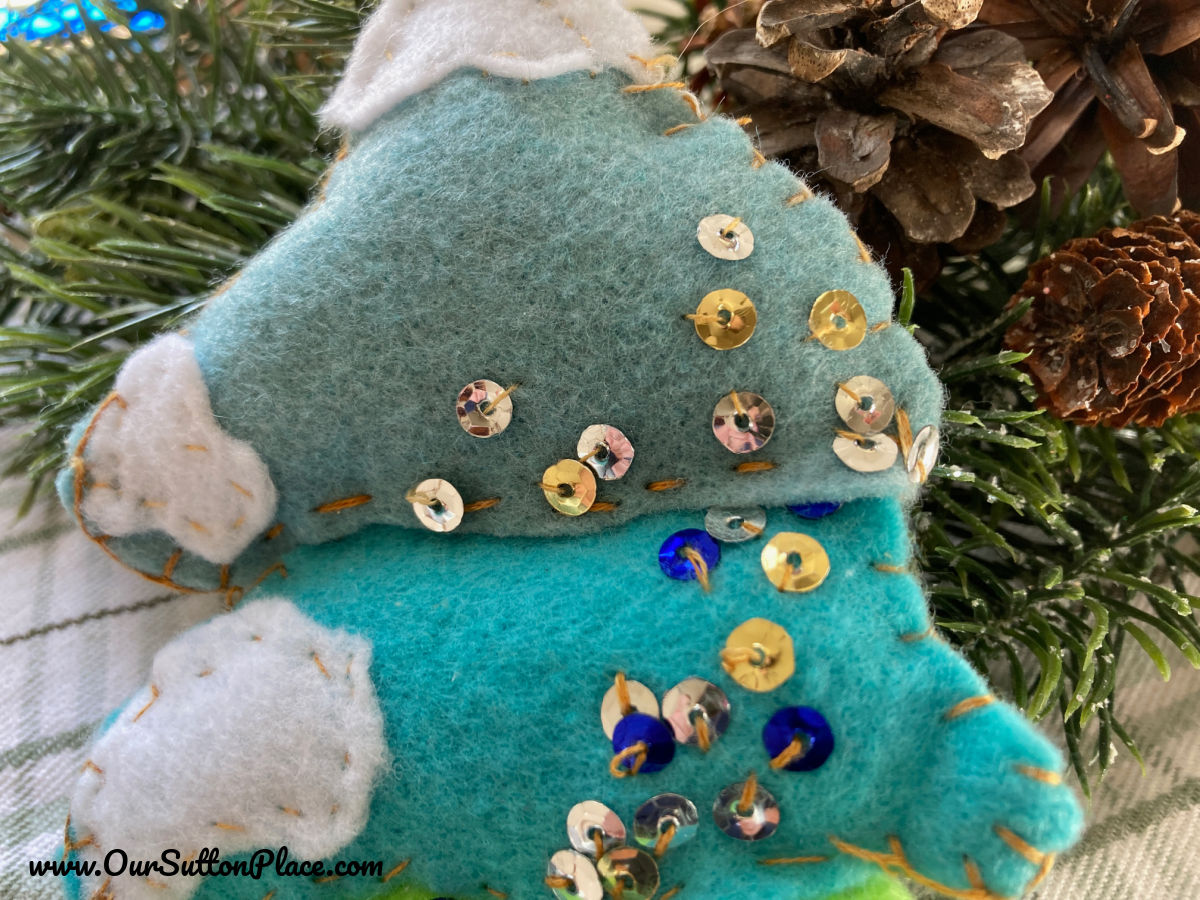
We used an ombre of blues and a light green, white for snow, and brown for the trunk. You can use whatever colors you like—but I’d recommend doing it ombre / gradient style where the colors blend into each other.
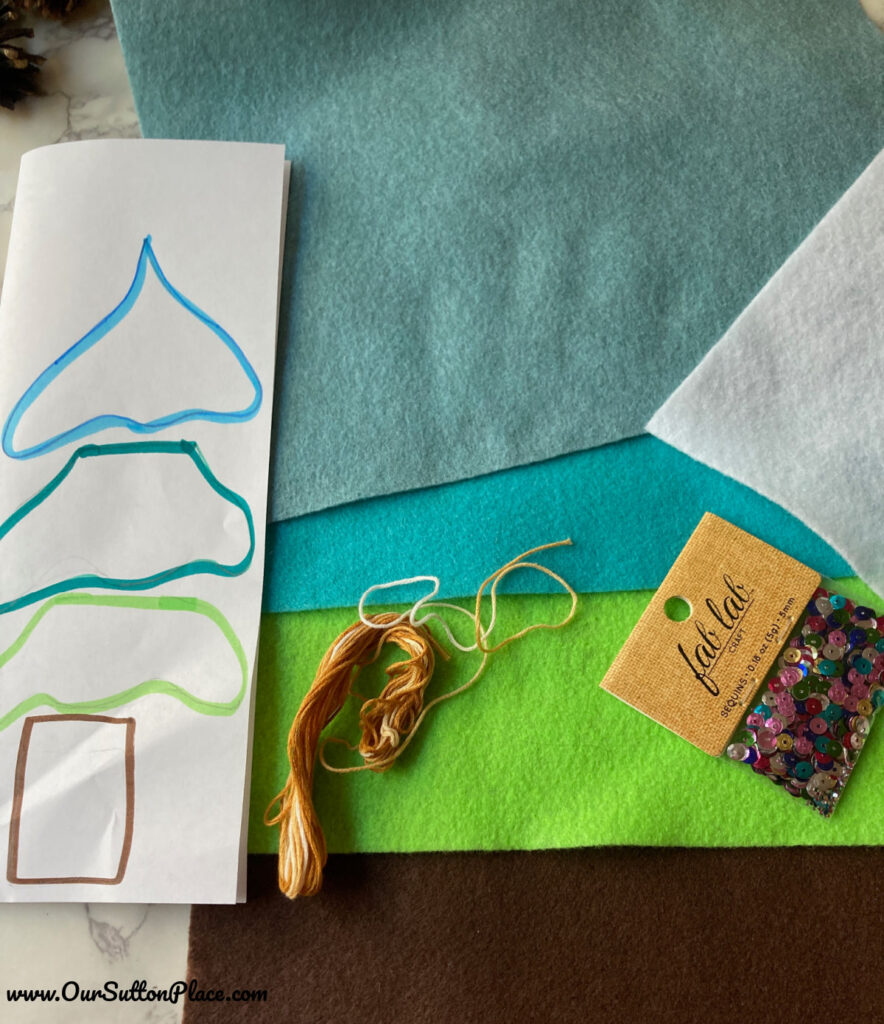
One other style note—we purposely used neutral sequins, just to give it more of a sparkle. However, if you’d like to make this more of a Christmas Tree, all you need to do is add a variety of colorful sequins.
Supplies
- 5 sheets of felt – we used: grey blue, teal, light green, white for snow, and brown for the tree trunk.
- Embroidery thread and needle
- Sequins
- Stuffing
- Optional: Pin
- Snowy Tree Pattern –FREE DOWNLOAD
Instructions:
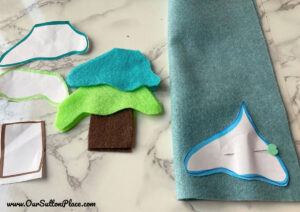
- Trace the tree pattern on a folded piece of felt.
Download it here for FREE. (Note: if you’ve already subscribed to my email, you will not get duplicate emails-I have a special filter.)
(Note: My apologies for the wrinkle on the bottom of the pattern. I tried to erase my pencil sketch and it wrinkled-yikes!).
- Cut out the shapes. By folding the felt, you’ll have two shapes (one for front, one for back).
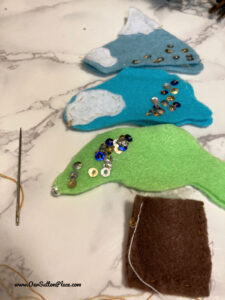
Sew your sequins and add white snow drifts. We just cut the snow drifts by hand-no pattern is needed.
- Finally, starting with the trunk, sew the edges. You can use blanket stitch or traditional hand-sew stitch. I sewed the edges, leaving the top open to fill.
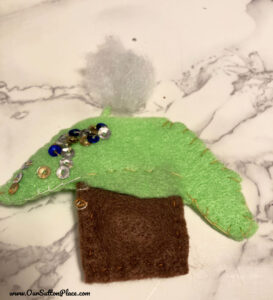
- Fill the trunk with stuffing, then lay the next layer on top of the trunk and sew the edges.
- Repeat steps 4 and 5 until you’re done.
Finally, I filled each layer with stuffing and sewed up the edges.
OPTION: if you want this to be an ornament, fold a piece of ribbon and sew to the top.
Enjoy!
Looking for more Holiday Crafts?
Check these great related craft posts:
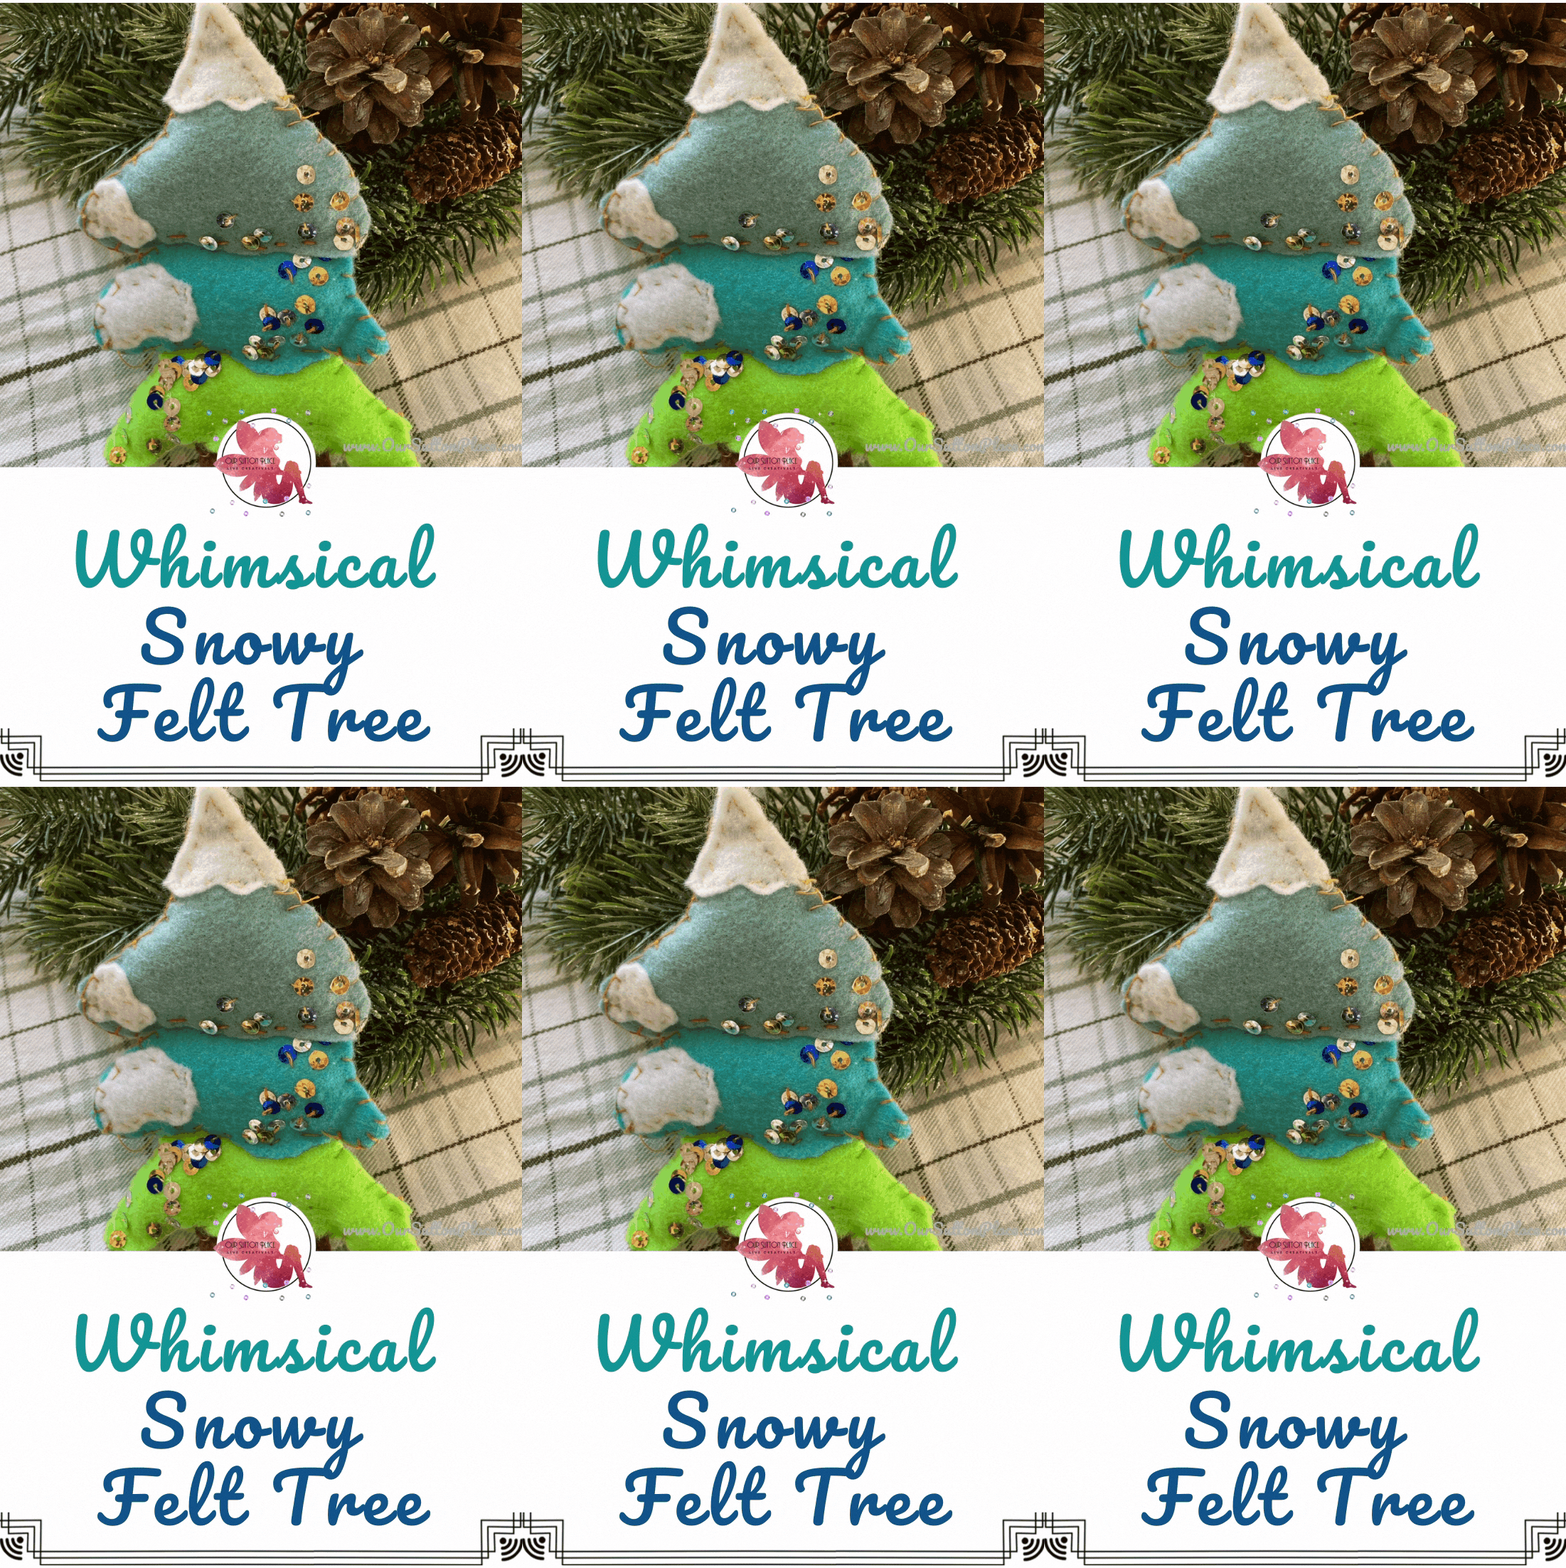
And Don’t forget to Pin this for later!
Tell Your Story-Live Creatively

Sign up for our newsletter and receive the On-The-Road Photography Checklist! Never miss another important photo opportunity again.
HI! I’m a Shana, self-proclaimed Media Mixologist, wife, and mom to two little girls. I love to mix up cocktails of crafts, recipes, wellness, family and business with just the right amount of sparkle to help you shine everyday. So, grab a glass, and let’s celebrate the cocktail of life!





Leave a Reply