In a day and age where you can easily buy everything you need to make…
How to Make a Whimsical Fairy Garden in 3 Easy Steps!
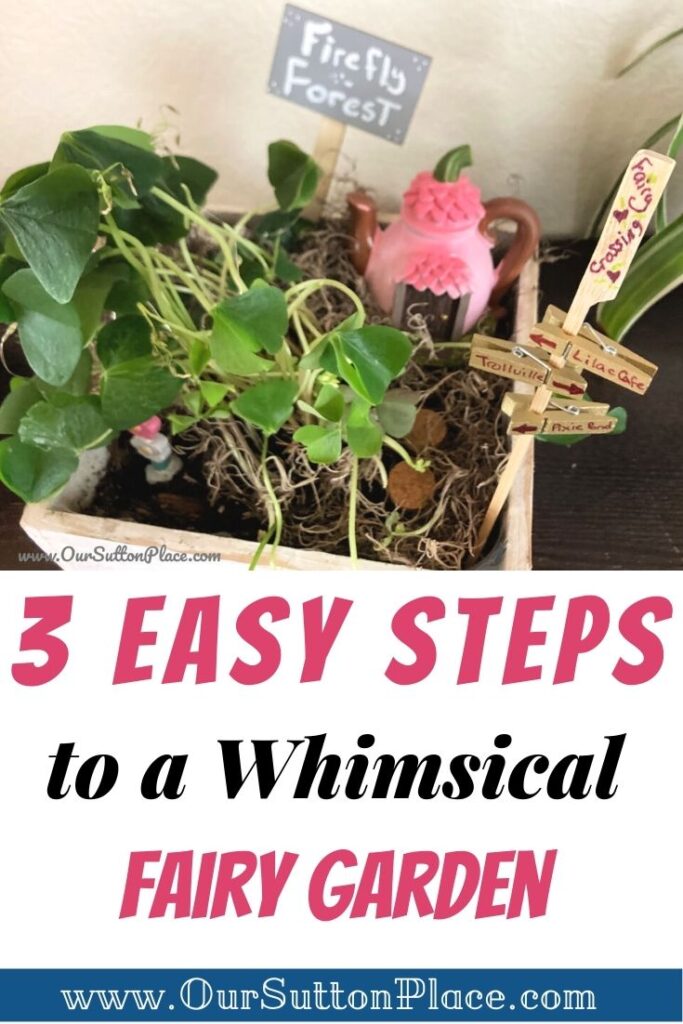
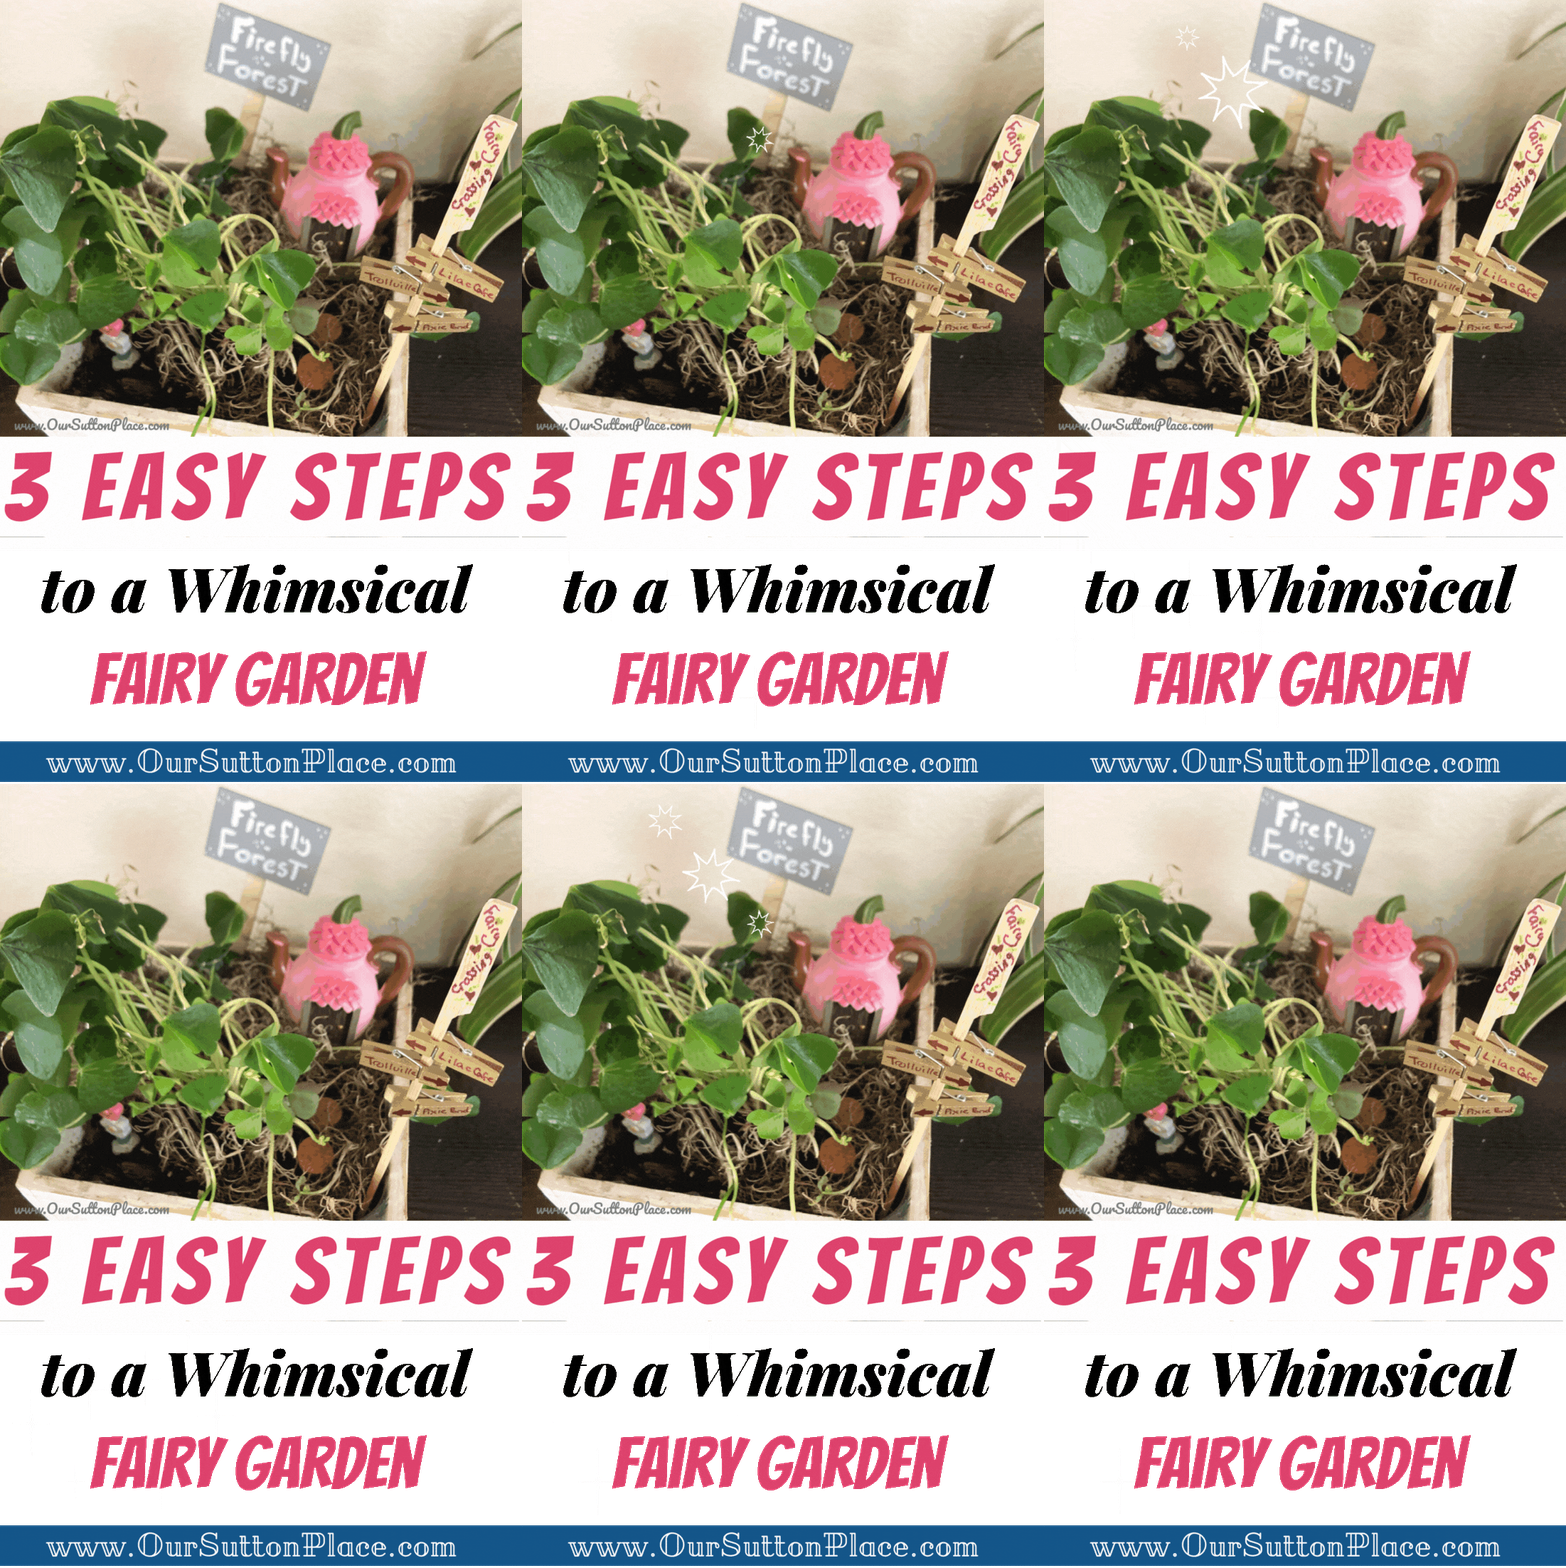
Fairy gardens are a great way to connect kids to nature and inspire their imaginations. In this article, I explain how to make your own simple and DIY Whimsical Fairy Garden in 3 Easy Steps!
Welcome to the March Pinterest Challenge!
Each month, I get together with some of my favorite craft bloggers and we all create crafts inspired by something we’ve found on Pinterest.
For last month’s Pinterest Challenge, visit this Spring Wreath challenge post.
This month’s theme is Magical March.
Inspired by this Pin, I decided to make an easy Fairy Garden.
I always thought Fairy Gardens had to be these elaborate designs worthy of Tinkerbell movie or the Borrowers book. That is until a good friend of mine turned our Girl Scout herb garden into a magical fairy land in TWO MINUTES!
Unfortunately, I wasn’t able to find a picture of this magical creative feat. But, it was literally just a planter with some herbs that we created for an eco-friendly themed Girl Scout Badge. Then my friend went to Dollar Tree and added some Fairy House accessories and Voila!
Perfect Fairy Garden!
Ever since that moment when I realized JUST HOW EASY Fairy Gardens really are, I’ve been making them every year!
Related: Upcycled Fairy Garden Ideas
Fairy Gardens help turn the ordinary into extraordinary in more ways than one
After all, Fairy Gardens are a great way to incorporate mindfulness and imagination into your daily life.
They’re also a wonderful way to get kids thinking about our natural world in more creative ways. Acorns can become hats or bowls. Rocks become seats or mountains. You get the idea.
Think about your Garden’s Purpose or Backstory
In my article about Fairy Gardens and Imagination, I go into more detail about how Fairy Gardens open up a world of creative opportunities. There is so much space for creative brainstorming…the sky’s the limit on what you could include.
But at the same time, I do think it’s very important to keep things simple with Fairy Gardens because the minimalist style allows for more imaginative wonder.
The nice thing about Fairy Gardens is that you’re implying that there is a whole fairy world out there, but you’re not creating the whole fairy universe. You’re just giving the viewer a little sneak peak.
How to Create Fairy Garden Crossing Signs
So for example, one element I always like to create are Fairy Crossing Signs.
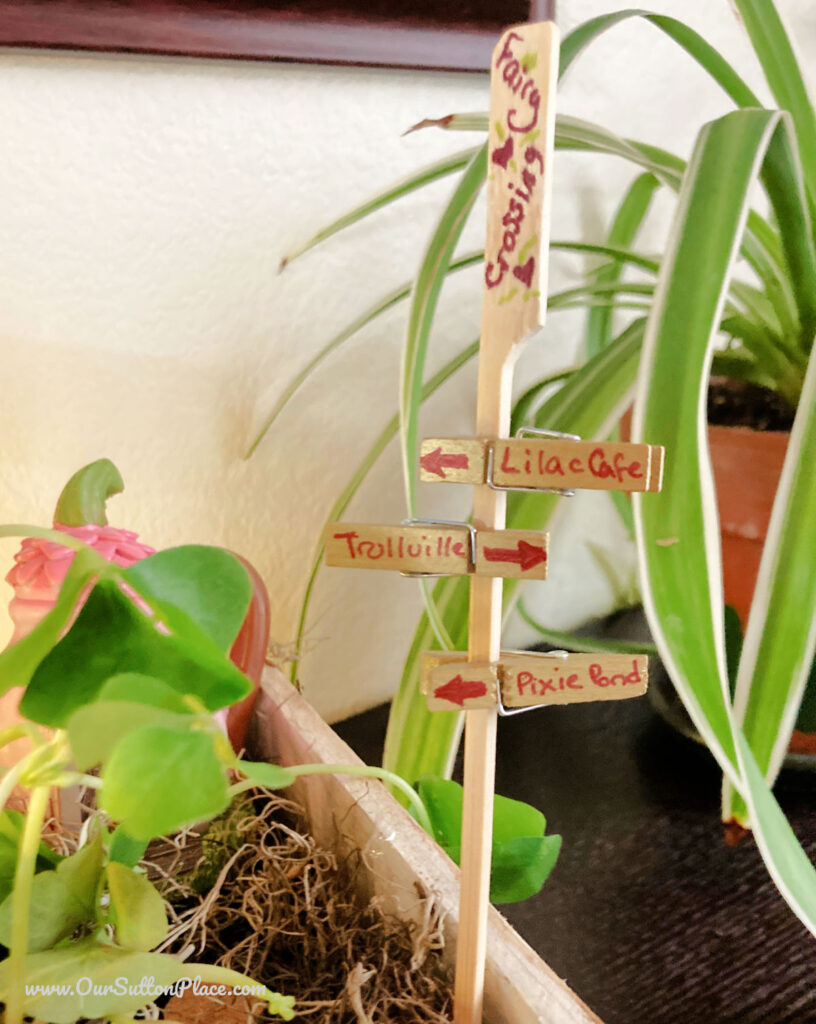
They’re super simple (you just take some mini craft clothes pins and pin them to a BBQ skewer).
But the magic really comes from how you decide to label the sign!
And this is also where the fun comes in.
Let your imagination take over—think about the places fairies might be walking to…pixie pond, unicorn stables, troll bridge, fairy dust depot….
Brainstorm a fun list and then grab a fine point marker and label the mini craft clothes pin.
You’ll notice when youre done that the finished sign really makes the fairy world come alive.
Here’s a list of Fairy Crossing Sign prompts to get you started:
Pixie Pond
Unicorn Stables, Pegasus Stables
Troll Bridge
Dragons’ Lair
Mermaid Cove
Fair Dust Depot
Bunnie Burrow
Rainbow Falls
Firefly Forest
Pine Forest
Wishing Well
Butterfly Brook
Weeping Willow
Rhododendron Canopy Trail
Cherry Blossom Glen
Sugarloaf Mountain
Happy Hill
Leave Negative Space
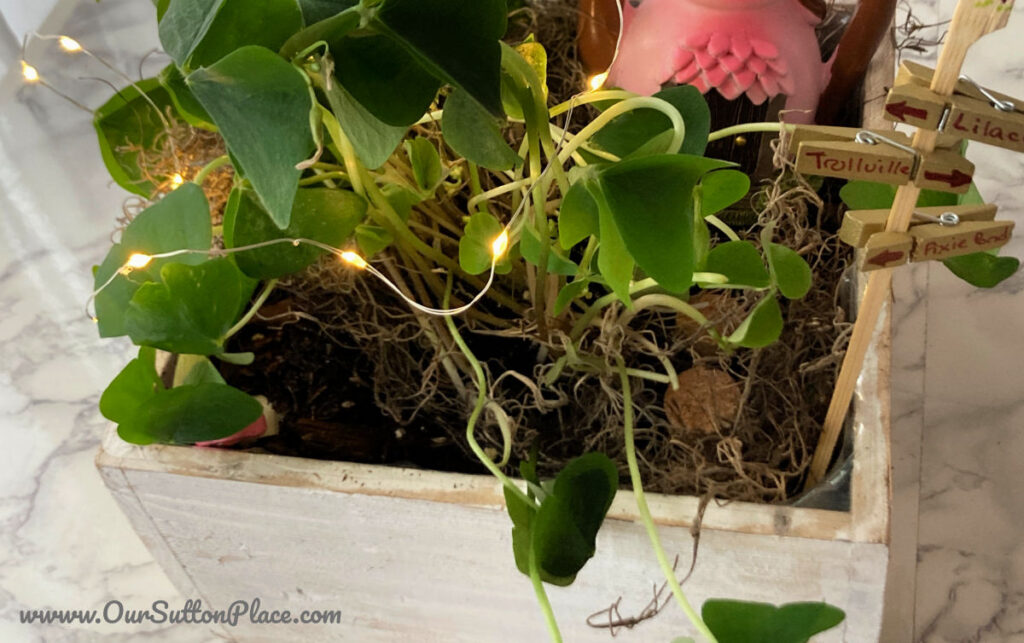
Just like in a photo, you want to have some negative or open space. In this fairy garden, I covered most of the surface with some decorative moss (I found mine at the Dollar Tree). I was inspired by the moss in the original fairy garden pin that I mentioned in my opening paragraph.
But if you look closely-I left part of the garden uncovered to give it more of a forest feel. So just as you would find a forest floor uncovered, so is this.
How to choose your Fairy Garden Plants
You can literally choose any botanicals for your Fairy Garden. The best choice, however, is something that will be low stress to you!!!
Remember—this is supposed to be fun!
I’ve done everything from herbs to flowers, to succulents, to shamrocks.
They all work great.
The plant featured in this Fairy Garden is the Oxalis Shamrock. They’re usually sold in grocery stores in March (for St. Patrick’s Day). They’re very pretty as they produce white flowers in spring.
How to Create a Whimsical DIY Fairy Garden in 3 Easy Steps
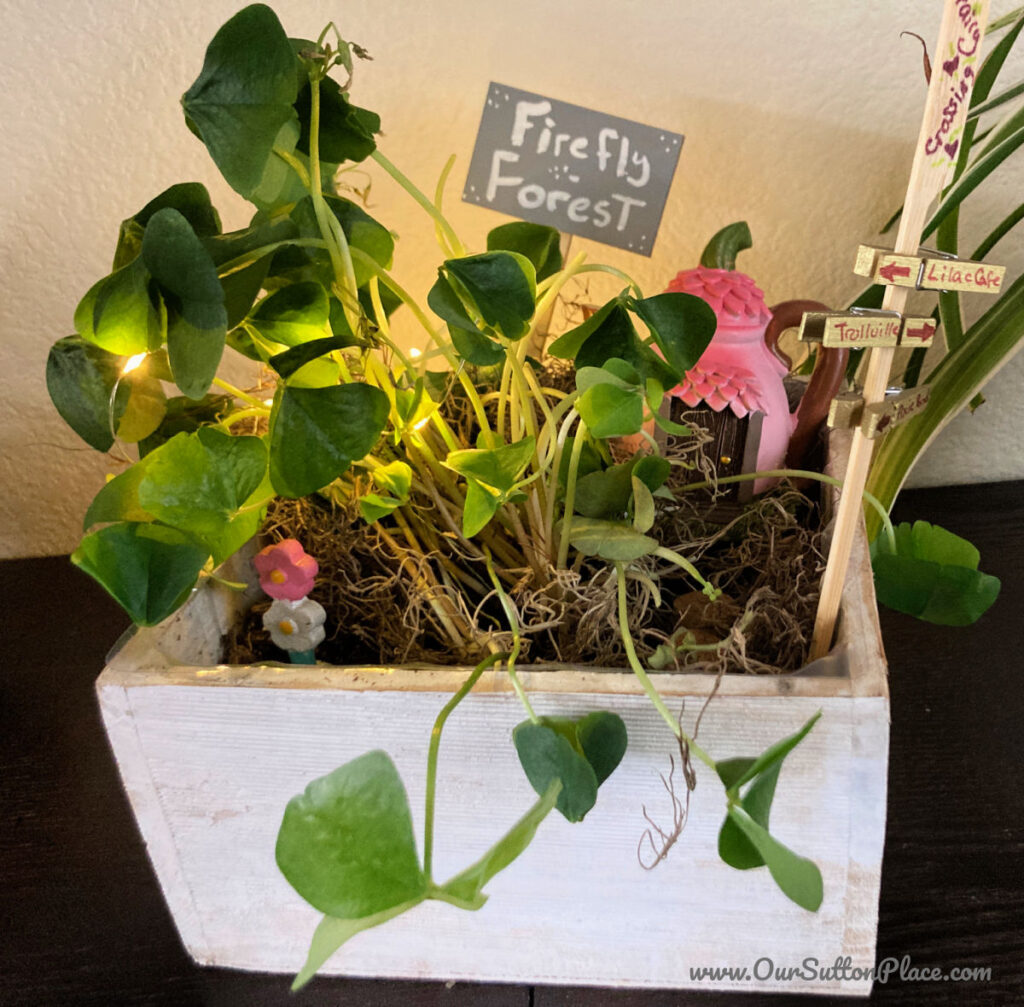
Supplies
- Base (container) and rocks for drainage
- potting soil
- plant
- accessories (found at Michaels or Dollar Tree)
- BBQ skewer (or craft stick) and mini craft clothes pins for a Fairy Crossing Sign
- Optional: wine cork to slice and place as stepping stones
- Optional: A small garden chalkboard sign to label the garden or plant
- Optional: Fairy lights
- Optional: Decorative moss
Instructions
Step 1: Insert rocks to the bottom of your planter for drainage. Then cover with pot soil and insert your plant. Then add water.
Step 2: Add some detail or a short backstory for your garden. (Don’t stress—just have fun with this part).
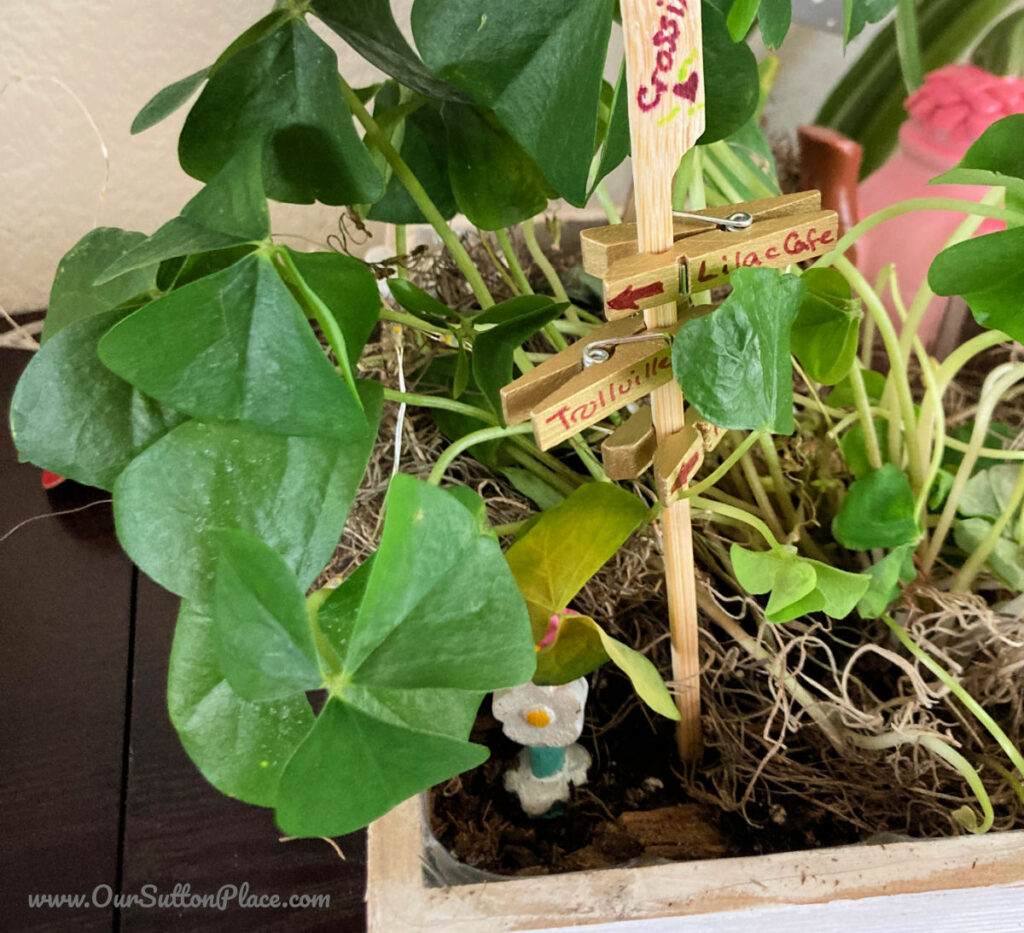
In this Fairy Garden, my daughters decided that this pink fairy house was a yummy dessert shop called “Lilac Café.” We created a cork walking path/ stepping stones (leading up to the café) by slicing a wine cork with a parking knife.
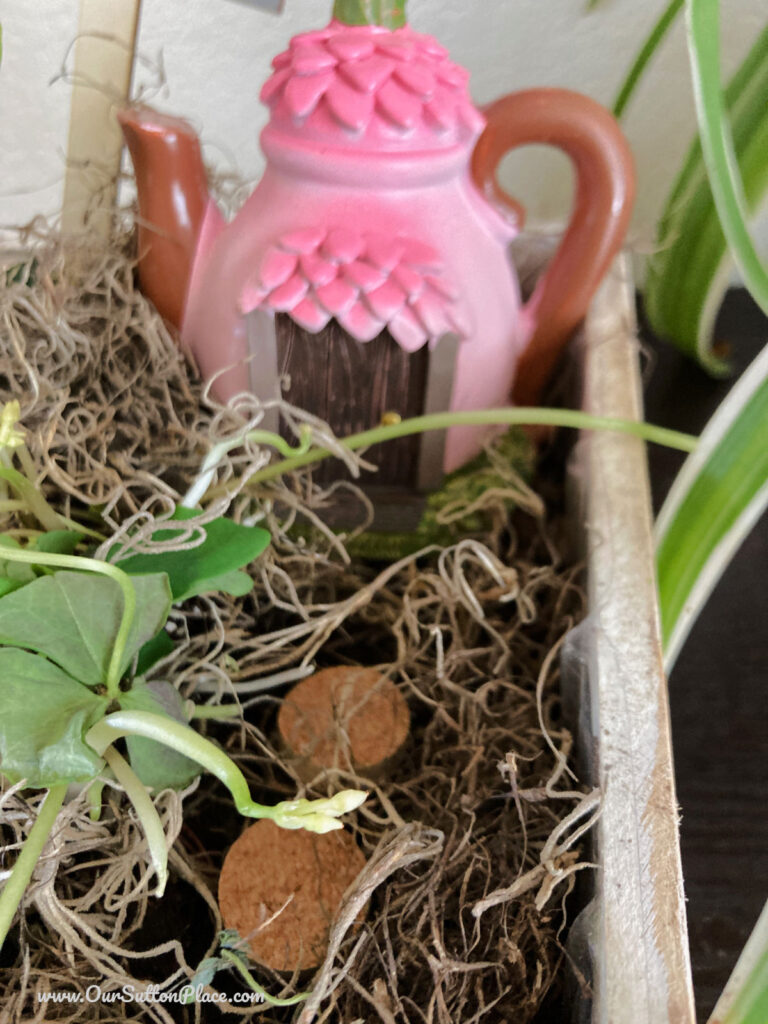
Step 3: Make your fairy crossing sign. Take a craft stick (or BBQ skewer) and add labeled mini craft clothes pins.
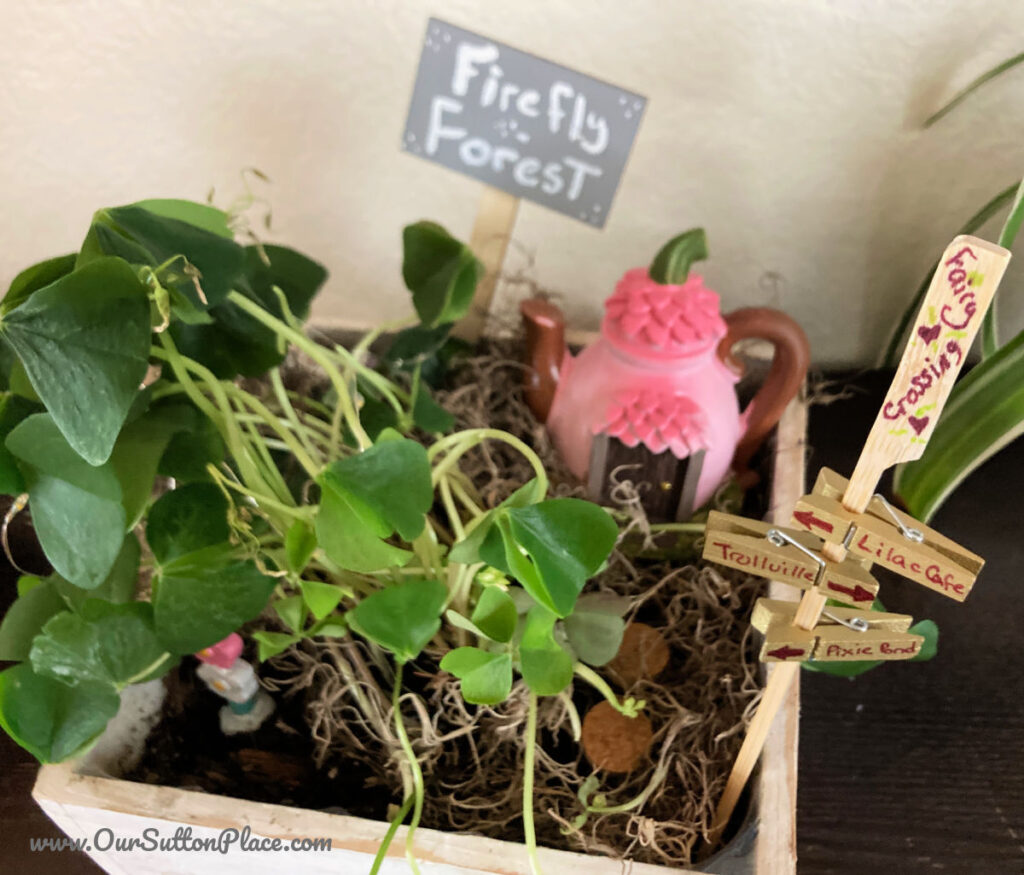
That’s it for the essential items.
If you want to add more, here are some Optional steps:
Step 4: Optional: Add some accessories. For example: additional fairy accessories, fairy lights, glass marbles, etc)
Step 5: Optional: Add a chalkboard sign to label your garden. Tip: Michaels often has these chalk board signs in the discount section at the front of the store)
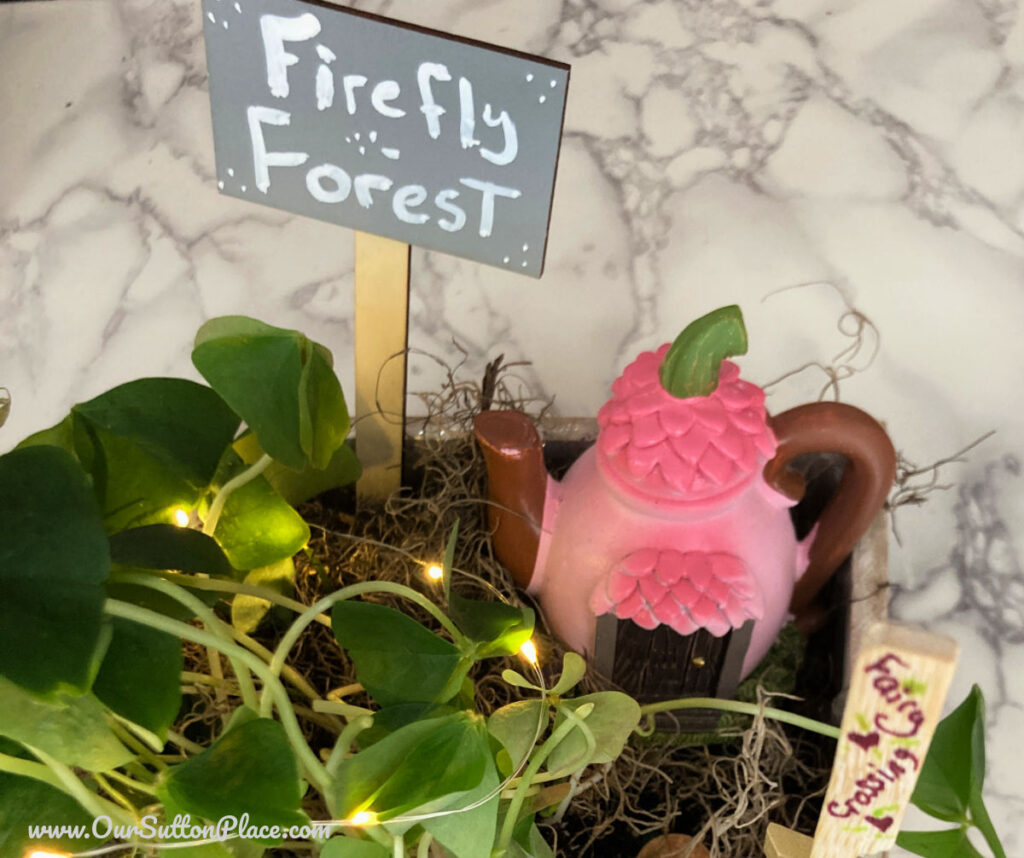
Step 6: Optional: Add some decorative moss. Done
Enjoy your fairy garden.
Don’t forget to check out these other creative articles celebrating Magical March!
Head over and visit the other hosts to see what they crafted, cooked, built or tried!Sew Crafty Crochet | Mom Home Guide | Stone Cottage Adventures
Farm Girl Reformed | Sum of their Stories | Our Good Life
My Slices of Life | EyeLoveKnots | On Rockwood Lane
Little Vintage Cottage | Our Sutton Place
Pinterest Inspired Projects
Tell Your Story-Live Creatively

Sign up for our newsletter and receive the On-The-Road Photography Checklist! Never miss another important photo opportunity again.
HI! I’m a Shana, self-proclaimed Media Mixologist, wife, and mom to two little girls. I love to mix up cocktails of crafts, recipes, wellness, family and business with just the right amount of sparkle to help you shine everyday. So, grab a glass, and let’s celebrate the cocktail of life!




Great tips and your little fairy garden turned out great!
Tania
Thanks so much. Glad you like it! 🙂
Love your step-by-step tutorial. I think this is a great way to learn how to make your fairy garden!
Thanks so much. Yeah, I wanted to simplify it because they can seem overwhelming but really aren’t.
So lovely just how easy it is to make a fairy garden! I used to stress out about it, but now I just go with the flow and what I think looks good in the space. Love your sign idea! And all those great ideas for more to add to it.
Thank you! Yes, I agree–I used to get overwhelmed with fairy gardens but then I realized how simple they actually are and we make them every year. It’s such a great way to inspire imagination with kids.
That is really cute and I just love you broke this down into simple steps. My son and I were going to make a fairy garden a few years ago after we toured an amazing display of them at our local botanical gardens but we felt so overwhelmed on where to start that we never did anything with our supplies! Pinned.
Oh thank you so much. I really appreciate that. Yes, thinking about this in simple steps is definitely key. If I don’t simplify things, I never get them done (she says looking at pile of unused craft supplies LOL).
Fun! Love your sweet fairy garden.
Thanks!!! It’s a great family activity-my kids had a blast. 🙂
This is adorable! I love the lights, the signs, and especially the “cafe”!
Thanks so much! Yes, the cafe sign was my daughters’ idea. They loved helping to decorate this.
I love oxalis and have native ones along the edges of my shadier flower beds! Your fair garden is lovely! pinning -Marci @ Stone Cottage Adventures
Why thank you so much. That sounds really pretty–having native oxalis in your outdoor garden. I’ve never thought of that. I’ll have to try that this summer.
I like how you did the path with slices of cork – brilliant!
Oh thank you. That’s one of my favorite parts too, and it wasn’t hard at all. I just used a sharp knife.