This simple no-glue American Flag wreath is the perfect summer craft and will brighten up…
How to Make an Easy Two Color Burlap Wreath
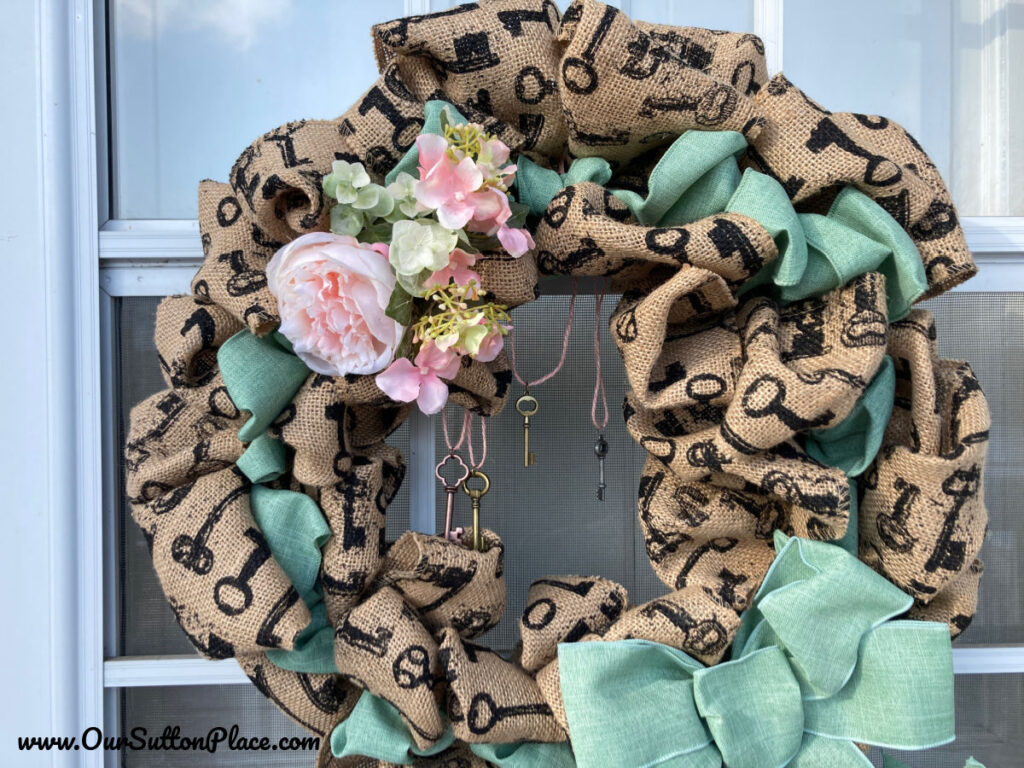
This easy two tone burlap wreath using two colors (sage green / mint green and burlap). It’s perfect for Spring! Since I used a burlap with keys as the graphic, I customized it to reflect a fun “Family is the Key to Everything” theme by adding mini key accessories. Check out all my Tips and Tricks in my Video below. 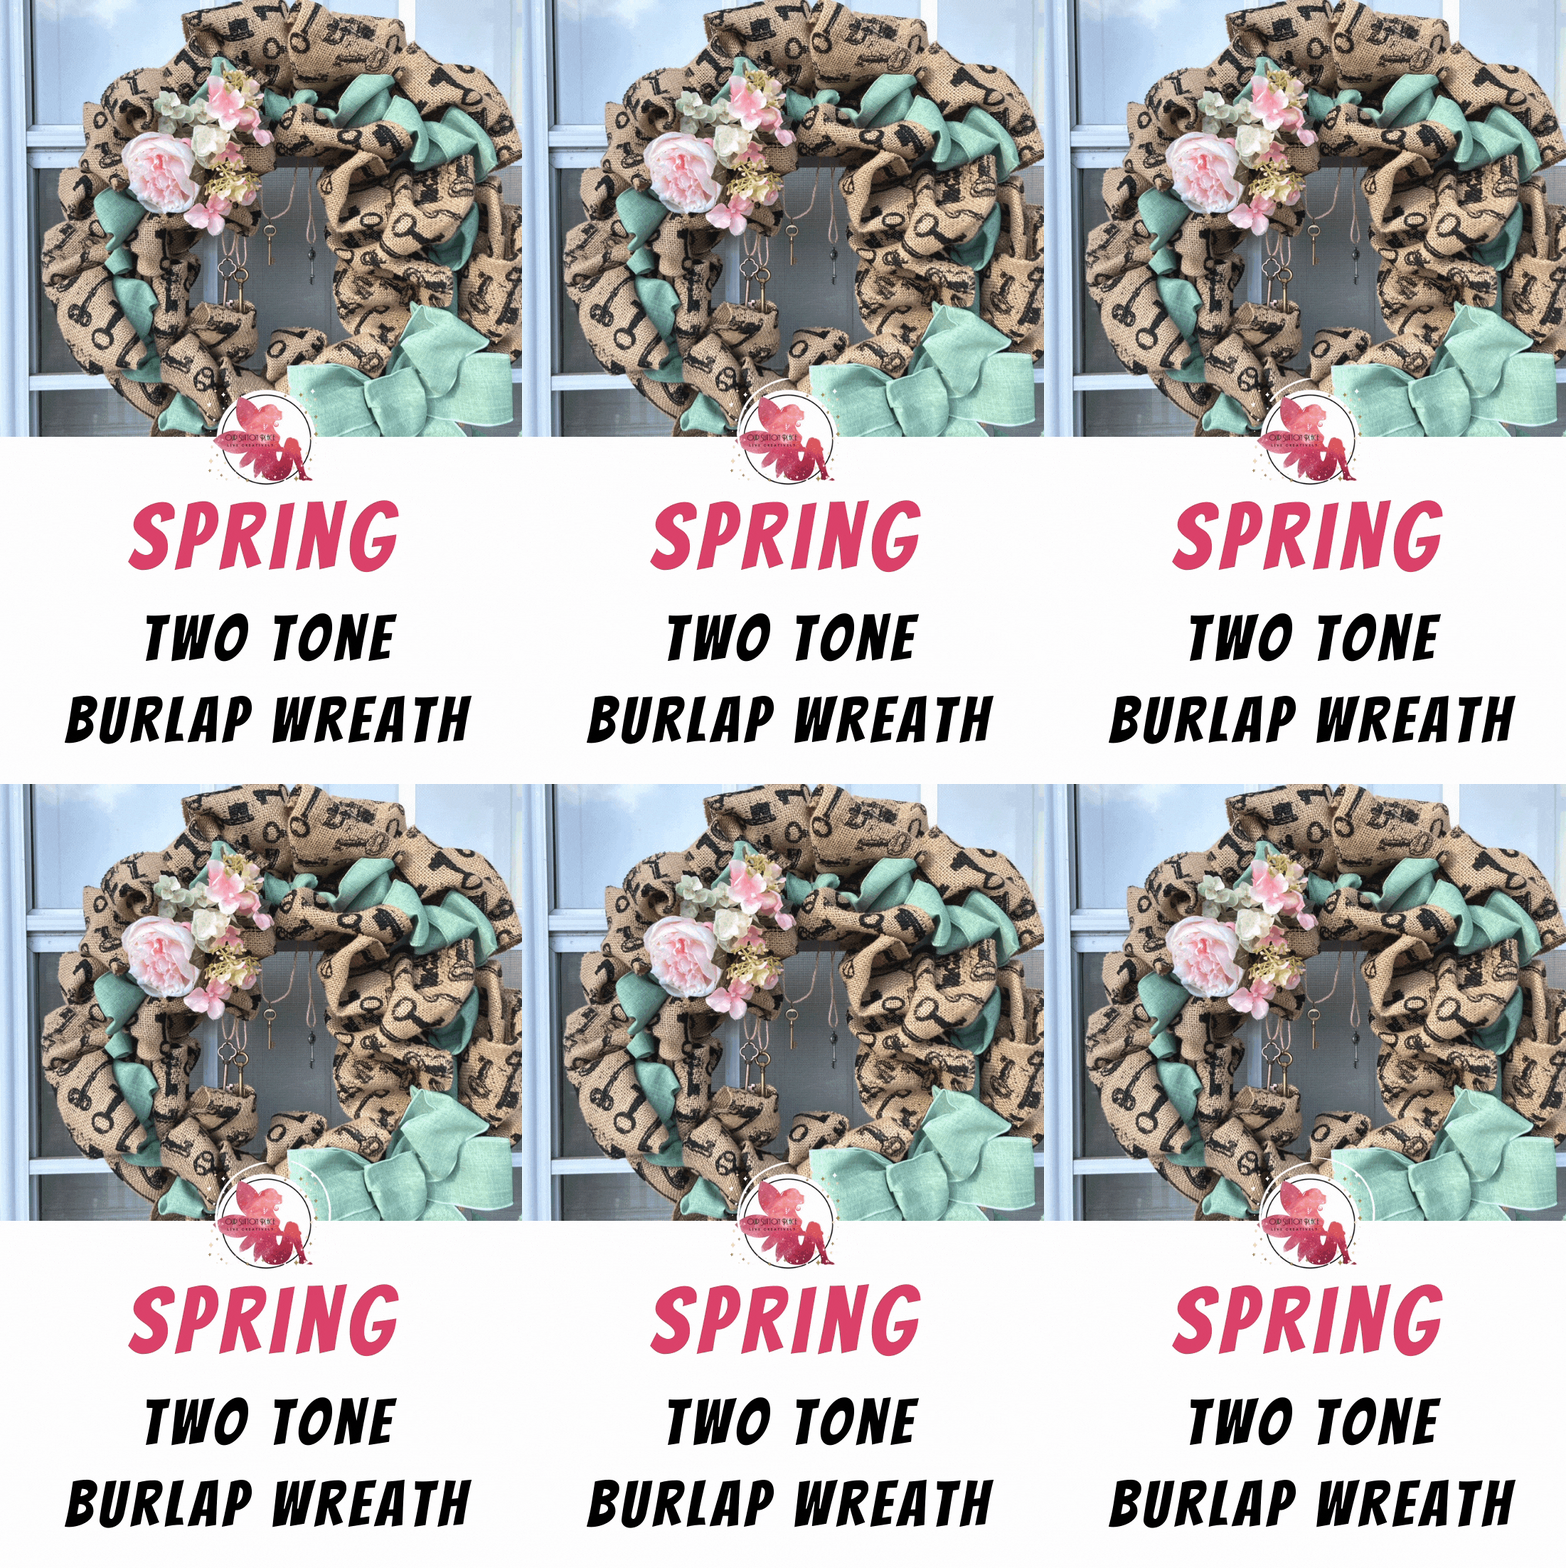 It’s time for another Pinterest Challenge. Once a month, I join together with some of my favorite craft bloggers and we challenge ourselves to actually create a fun craft that we’ve saved from Pinterest. Related: Check out our Pinterest Challenge from last month: Valentine’s Day Treats. I made yummy Vegan Heart-Shaped Brownie Bites.
February Pinterest Challenge: Spring Wreaths.
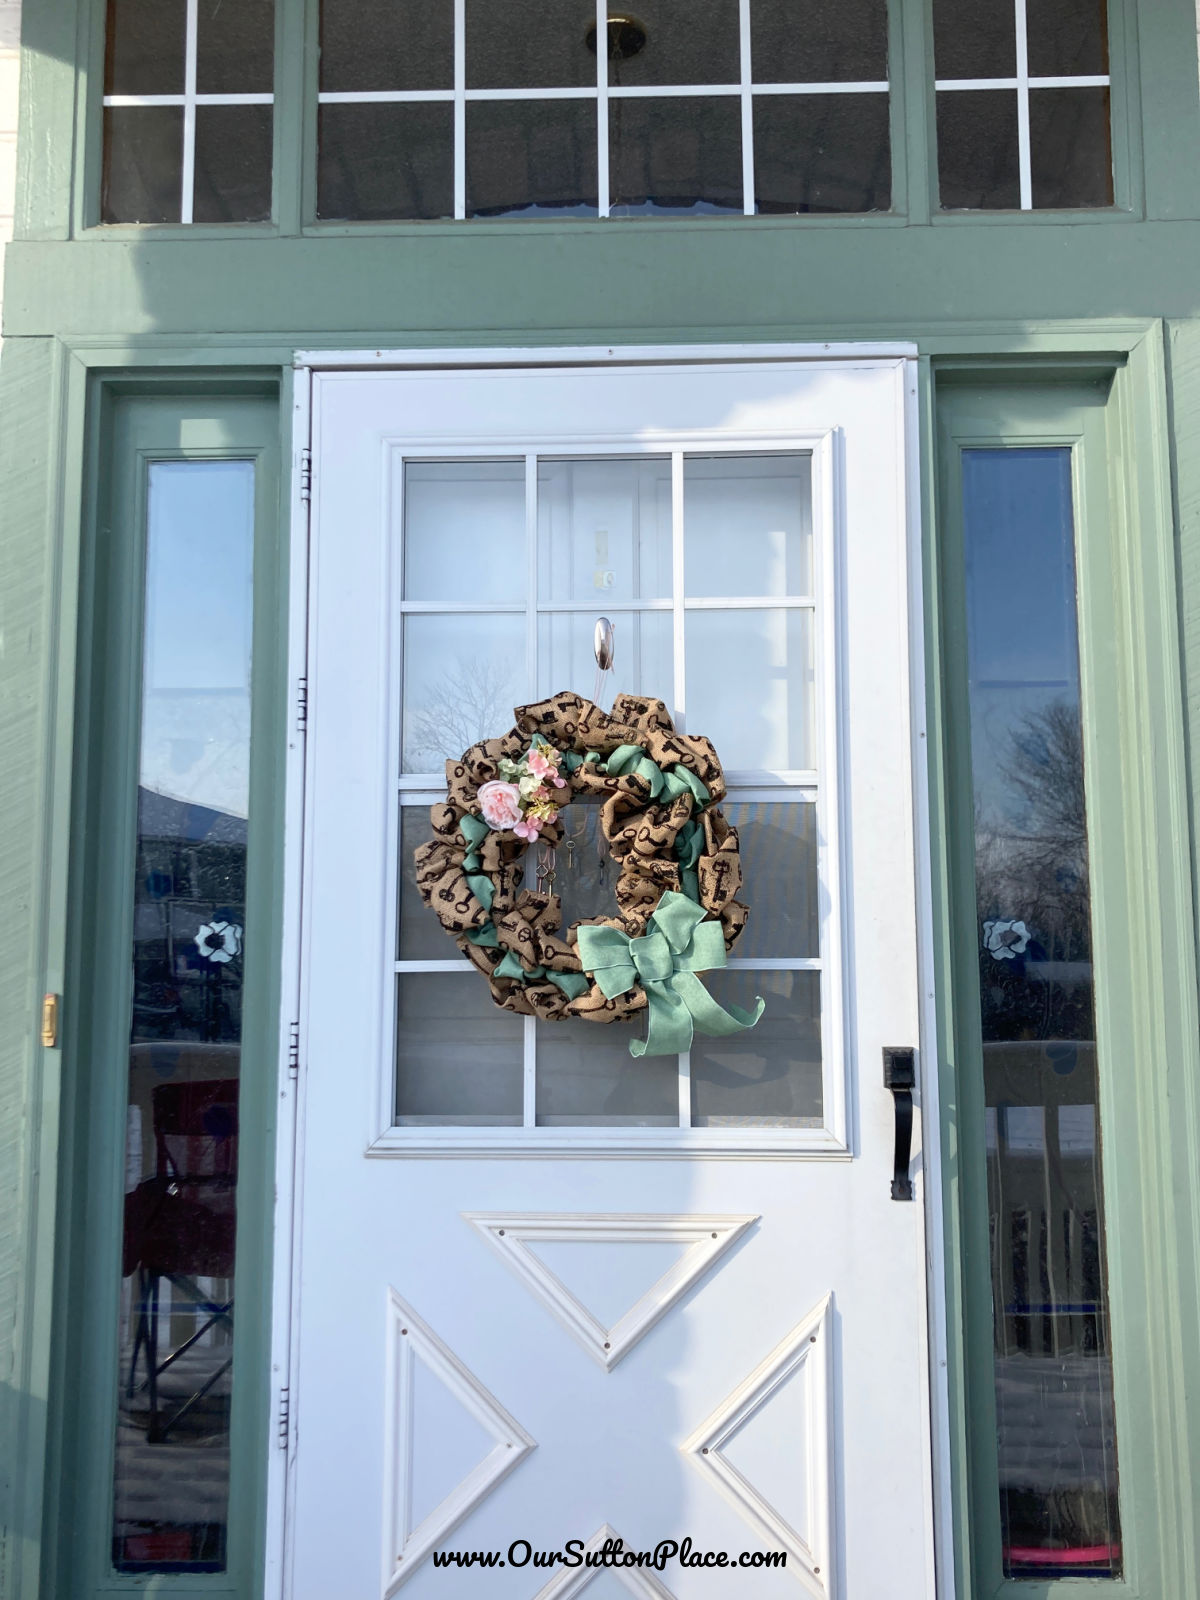 This month our Pinterest Challenge is Spring Wreaths. I’ve never actually made a burlap wreath before and I came across this great Pin video from Diana at BeingMommyWithStyle. I love how she added a pop of color to the classic burlap wreath. I also love that its’ a great opportunity for me to use my burlap ribbon that’s been sitting in my craft bin for a while…ok years.
Family is the KEY to Everything
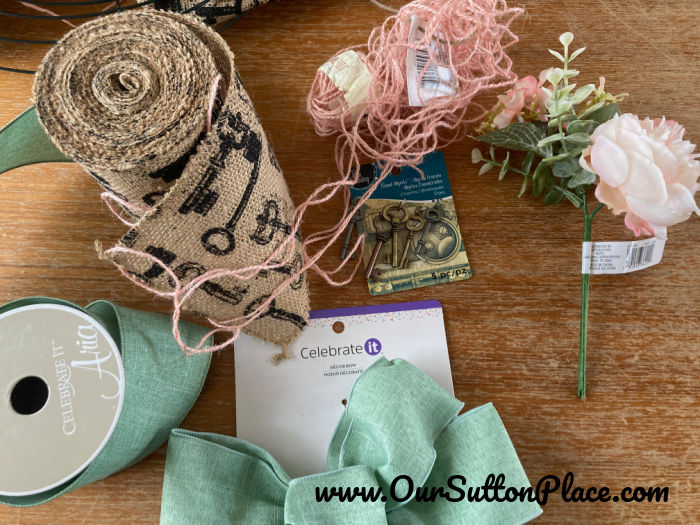
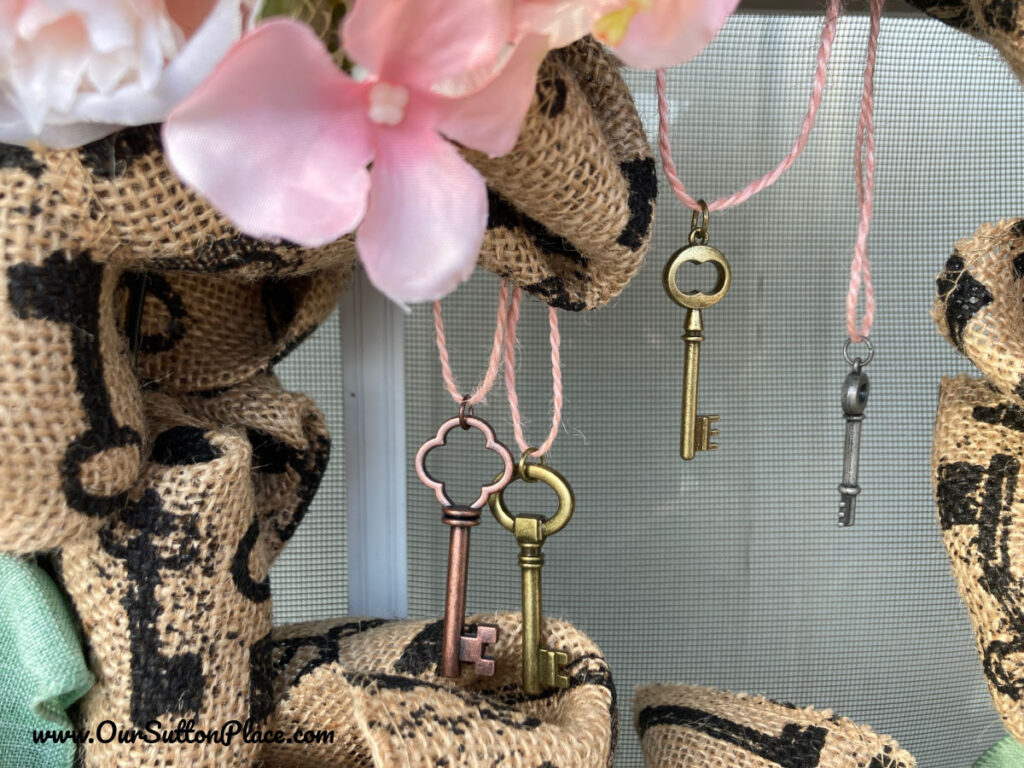 Since my burlap had graphics of keys, I decided to go with a fun theme. I’m calling it the “Family is the KEY to everything” wreath. I also grabbed some fun, faux keys at Michaels to hang from the inside ring.
How to Make a Two Toned Burlap Spring Wreath
As I mentioned above, I would also highly recommend watching the video from Diana at BeingMommywithStyle. She explains everything really well.
Supplies:
- Metal wreath frame (from Dollar Tree)
- About 4 rolls of wide ribbon or burlap (Be sure to buy more fabric for whichever color/graphic you decide will be on the outside rows—you’ll be using more of it since it needs to fill up two rows).
- Some jute twine
- Scissors
- Optional: a big bow or silk flowers
- Optional: faux keys
Steps:
Watch my video for the full tutorial. I give a lot of extra detail and helpful tips.
But here is the basic run down.
Attach the wide ribbon/burlap to your metal wreath with some jute twine. Use a longer piece (about 10 inches) because you’ll want to use this to also hang the wreath to your door.
Decide which color you want to go on the outside and inside.
NOTE: whichever fabric you use on the outside rows, make sure you have more of since it’s being used for two rows. I used my graphic pieces on the outside and my green fabric on the inside.
Once you’re ready, take your outer layer fabric and loop it through the top row.
Next, take your inside fabric and loop it through the center row.
Finally take the outside fabric and loop it through the bottom row. Continue this throughout the wreath.
If you need more ribbon, attach it to the previous ribbon with some twine and keep looping. (This is explained in my video).
When you’re done, use some twine to attach the ribbon to the metal wreath.
Then decide where you want your optional items (like flowers or bow) and attach them as well.
Then, Voila! You’re done.
For more Pinterest inspired projects from this month’s Pinterest Challenge hosts, check out the links below ↓


Spring Pizza Pan Wreath @Cookies Coffee and Crafts

Braided Rope Spring Wreath @Purple Hues and Me

Easy Two Color Burlap Wreath @Our Sutton Place

Spring Tulle Rainbow Wreath @My Pinterventures

St. Patrick’s Day Shamrock Wreath @Little Vintage Cottage

St. Patrick’s Day Wreath Using a Charger @Our Good Life

Spring Bird Grapevine Wreath with Lace and Ivy @Mom Home Guide
Tell Your Story-Live Creatively

Sign up for our newsletter and receive the On-The-Road Photography Checklist! Never miss another important photo opportunity again.
HI! I’m a Shana, self-proclaimed Media Mixologist, wife, and mom to two little girls. I love to mix up cocktails of crafts, recipes, wellness, family and business with just the right amount of sparkle to help you shine everyday. So, grab a glass, and let’s celebrate the cocktail of life!




The wreath matches your door framing perfectly and I love the addition of the keys for your family.