
The First Day of School sign has become a ubiquitous Fall symbol marking kids' annual…

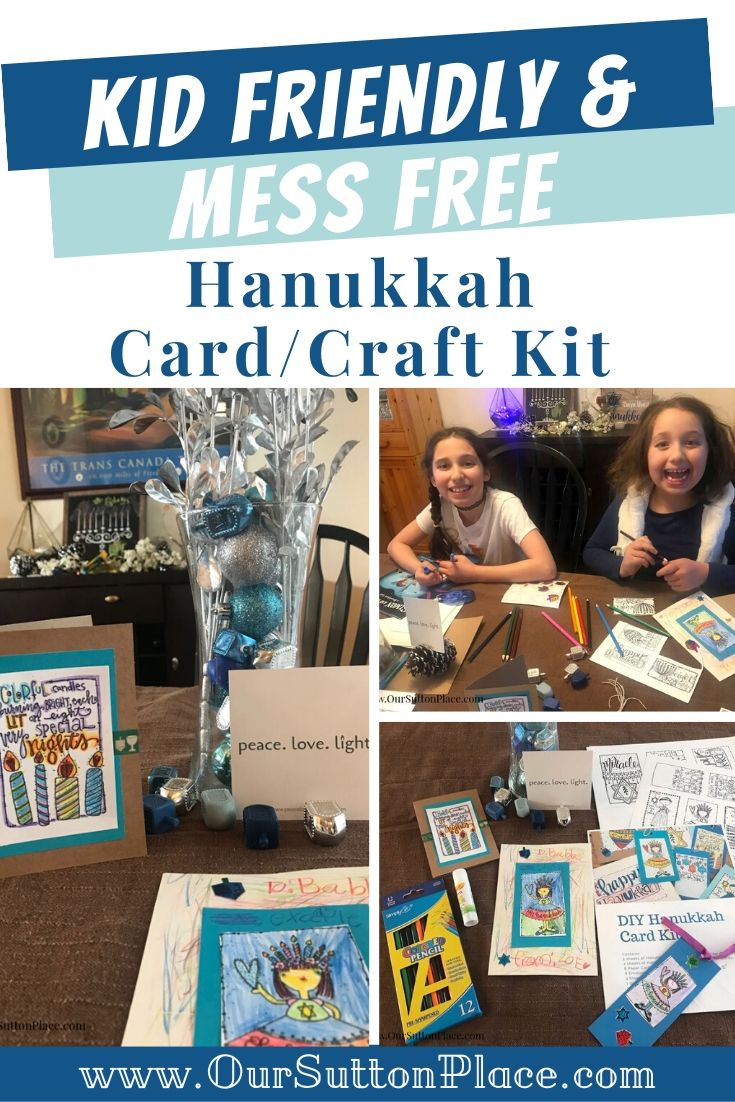
How to Make Easy DIY Artisan Style Hanukkah Cards
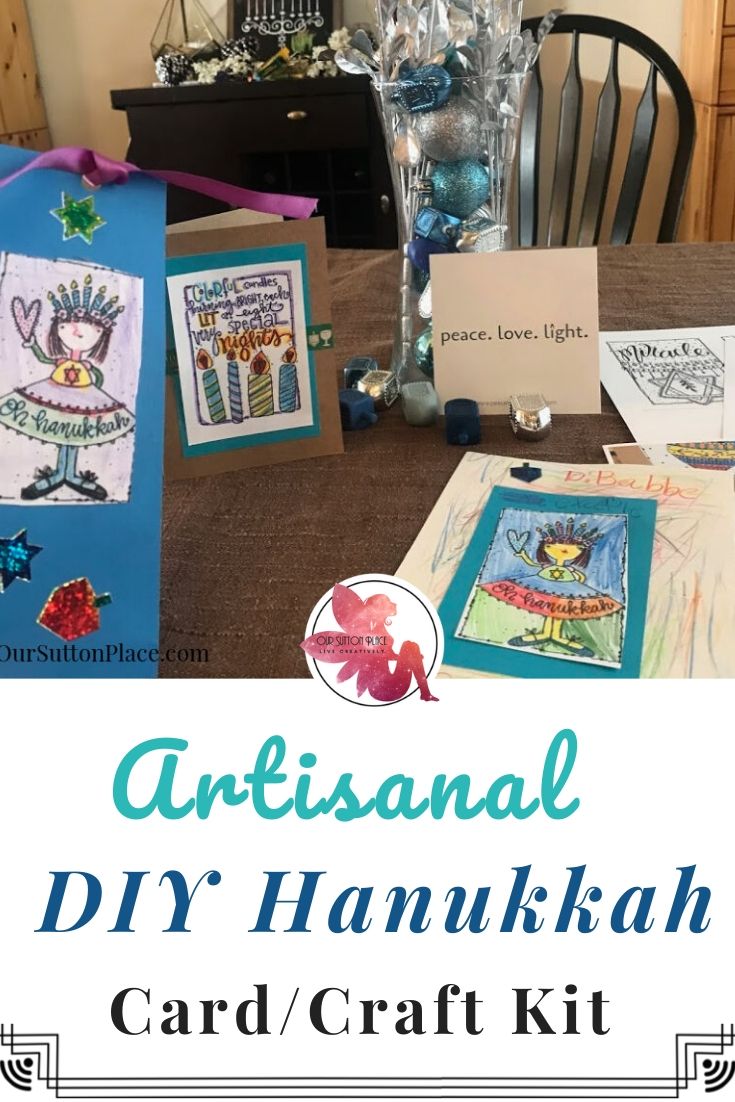
This beautiful hand-drawn and hand-lettered Hanukkah card kit has everything you need to make your own artisanal style Hanukkah cards. It’s a great kid-friendly craft that will help create a more intentional holiday and loads of fun. Keep reading to learn how to make your own easy DIY Hanukkah cards and crafts.
Disclosure: This post is sponsored by Peace Love Light shop. All opinions are my own.
One of my favorite things to do growing up was making crafty cards for friends and family. I would spend hours coloring, gluing, glittering, until they were as magical as possible.
So, when the good folks at Peace, Love, Light (Judaica) shop asked if I’d be interested in reviewing their new brand new Hanukkah Card Kit, I jumped at the chance!
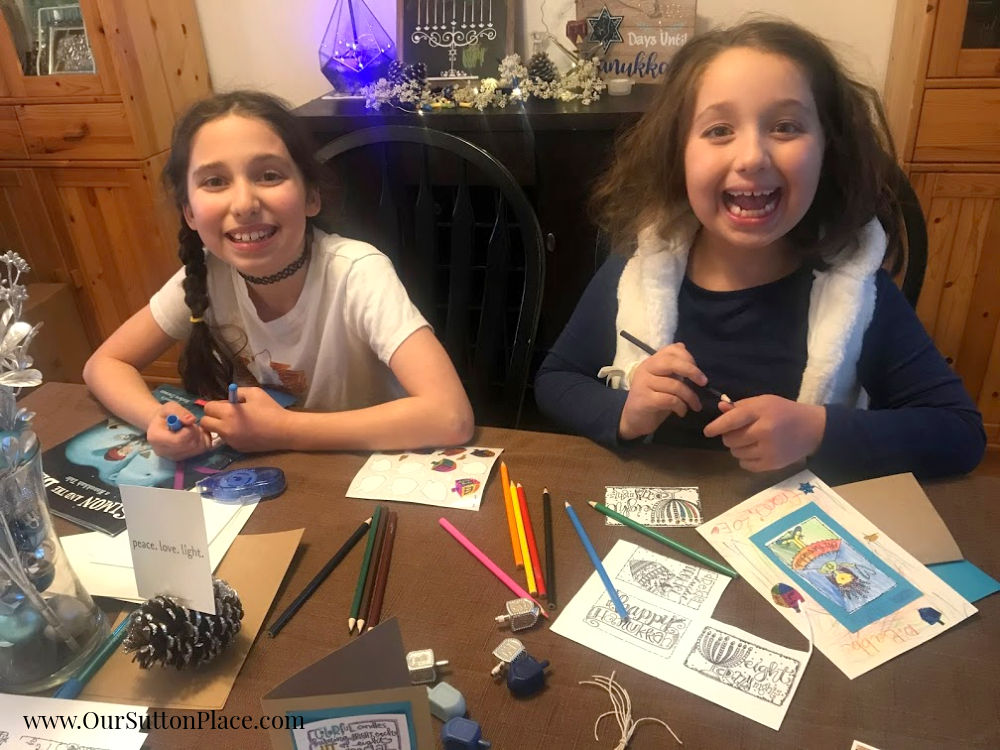
My girls and I had a blast.
And I loved how easy and mess-free our little craft session was. #momwin
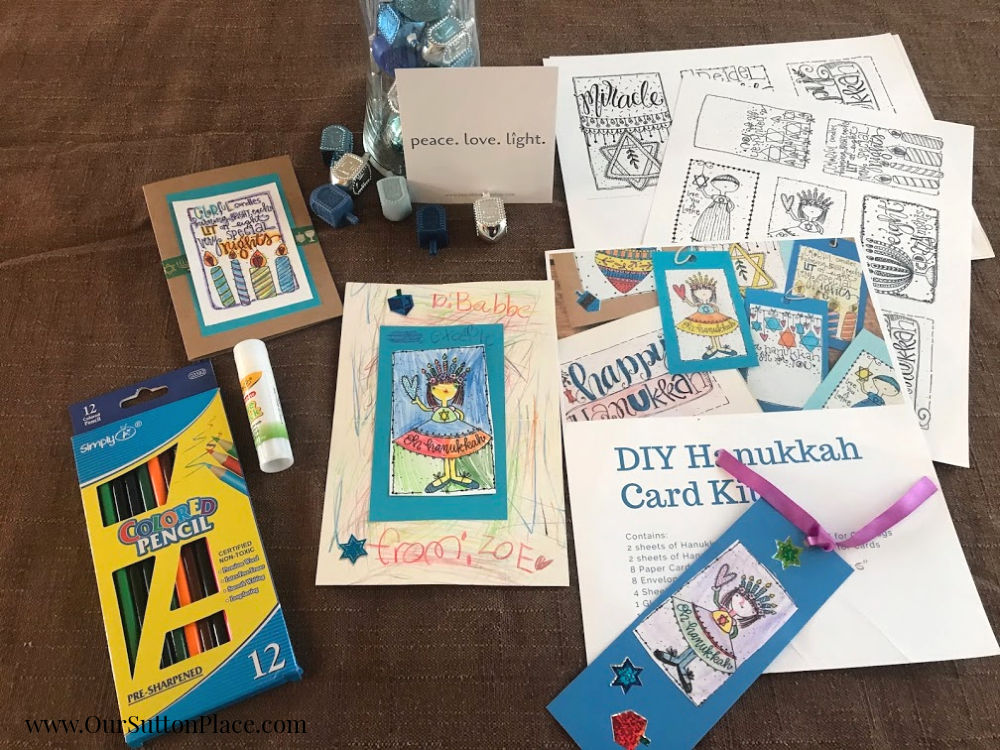
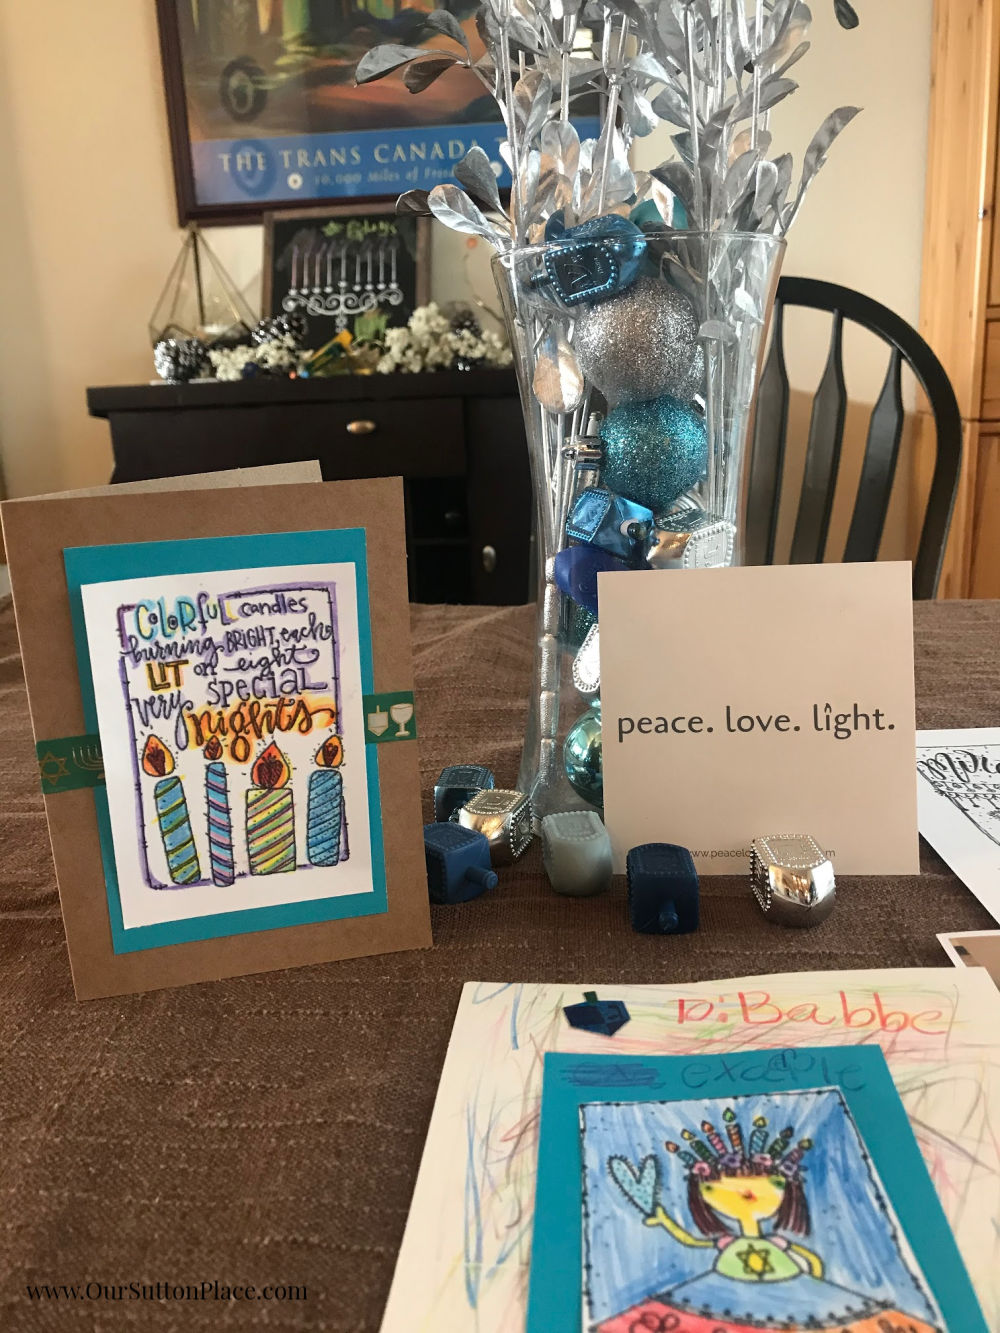
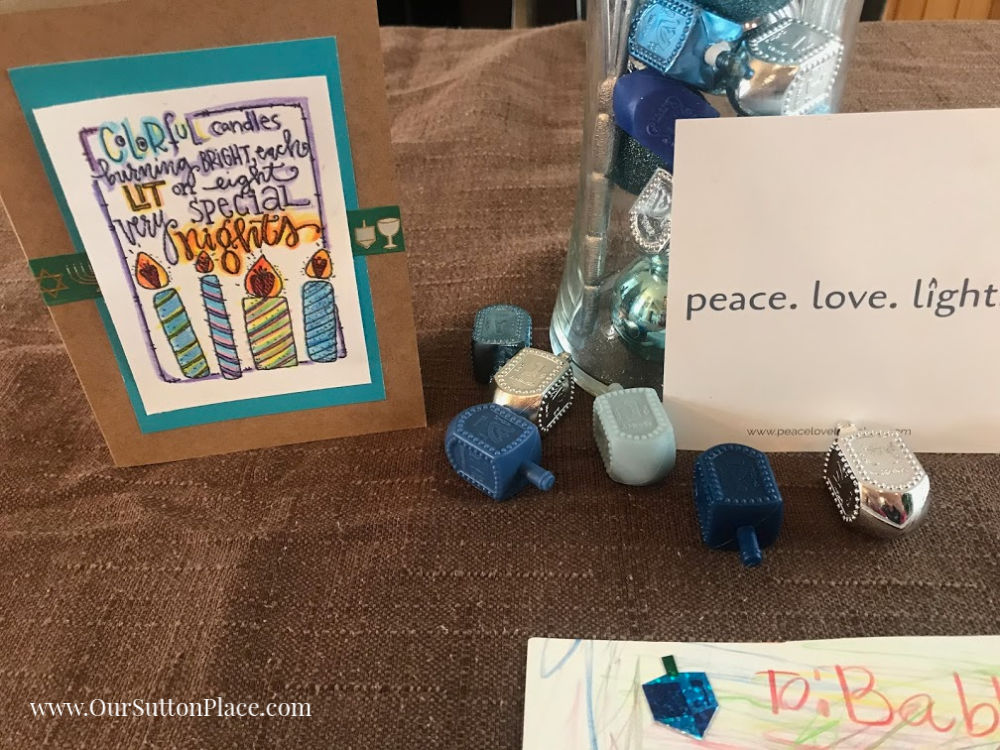
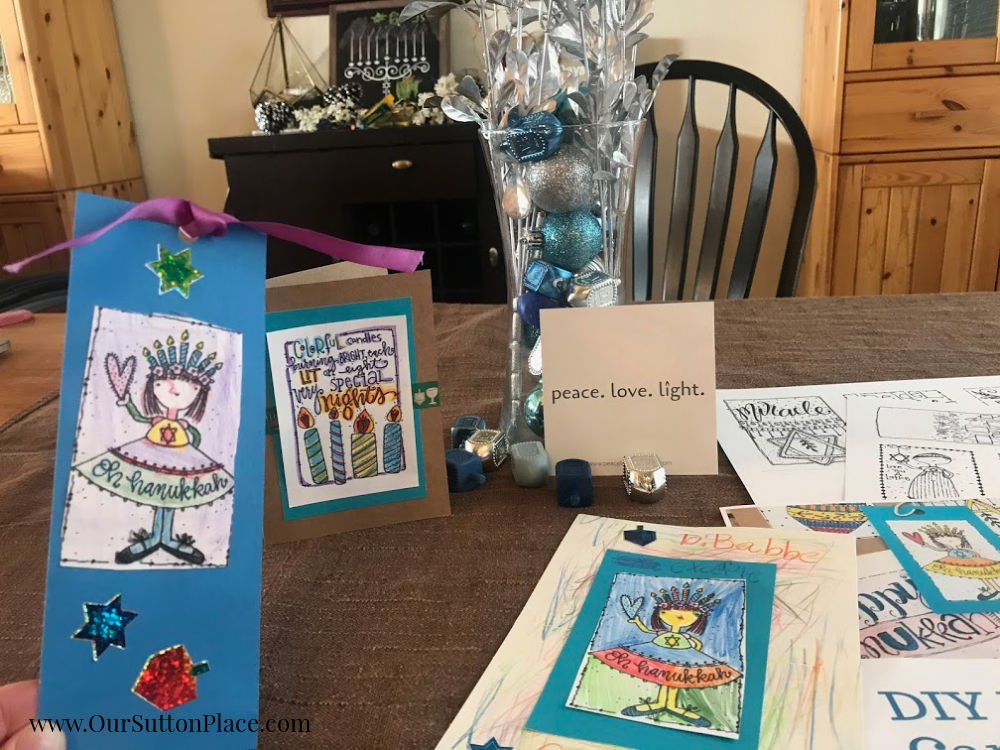
Peace Love Light Shop Hanukkah Card Kit
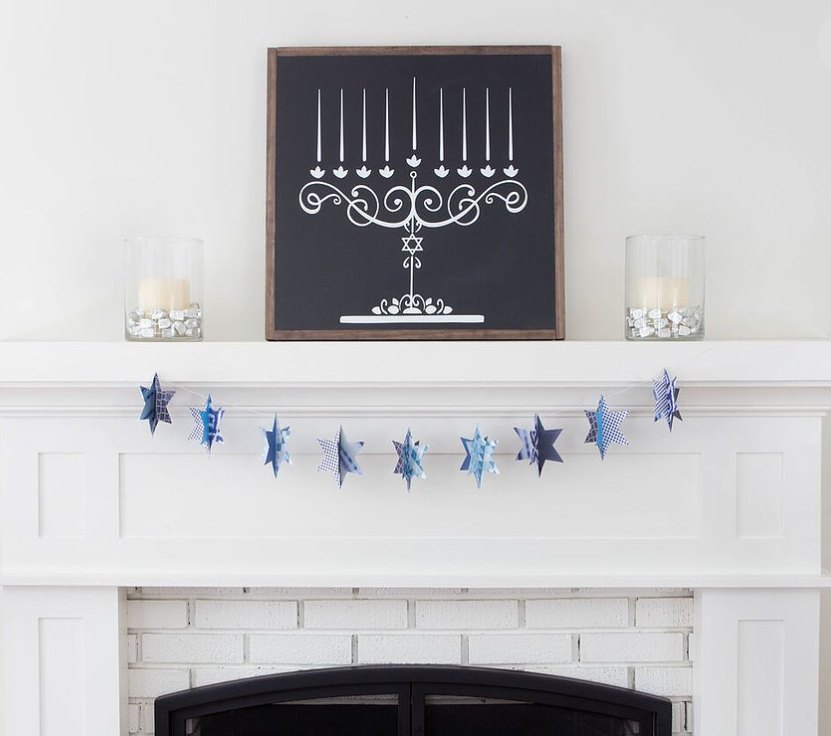
You may remember Peace, Love, Light shop from my post Family-Friendly Haute Holiday Décor as well as one of my favorite Hanukkah products– their fabulous Hanukkah Chalkboard Menorah.
Well, this year, they’ve launched an adorable DIY Hanukkah Card Kit.
My favorite thing about it is that it allows for hours of open-ended creativity.
You can make cards, gift tags, book marks, memory books.
And I just realized today, you can even use it for your Happy Planner. (more on that later.)
It’s also absolutely perfect for the busy mom because it literally comes with everything you could possibly need to make festive -NO MESS- Hanukkah cards.
Related Post-No Mess Hanukkah Latkes
The Hanukkah Card Kit comes with:
- 2 sheets of Hanukkah Original Designs Sized for Gift Tags
- 2 sheets of Hanukkah Original Designs Sized for Cards
- 8 Paper Cards (4 craft, 4 ivory)
- 4 Sheets of Assorted Blue Cardstock
- 1 Glue Stick
- 1 Pack of Colored Pencils
- Hemp Cord for Gift Tags
- Hanukkah Stickers
KEEP READING for a special discount code to use when you order your own DIY Hanukkah Card Kit.
How to make beautiful Artisanal Hanukkah Cards, Gift Tags, and Bookmarks
We created a video showcasing all of the crafty options available with this Hanukkah card kit.
PLEASE SUBSCRIBE so you don’t miss out on any future YouTube videos.
A Few Notes to Keep in Mind:
The graphics come in two sizes: 2″ X 4 ” or 2 1/2 X 4 1/2.
Both will fit on the paper cards. It’s up to you.
NOTE: For Happy Planner Fans, you’ll recognize that the 2X 4 sized graphics will fit nicely into the BIG Happy Planners for extra decorative fun!
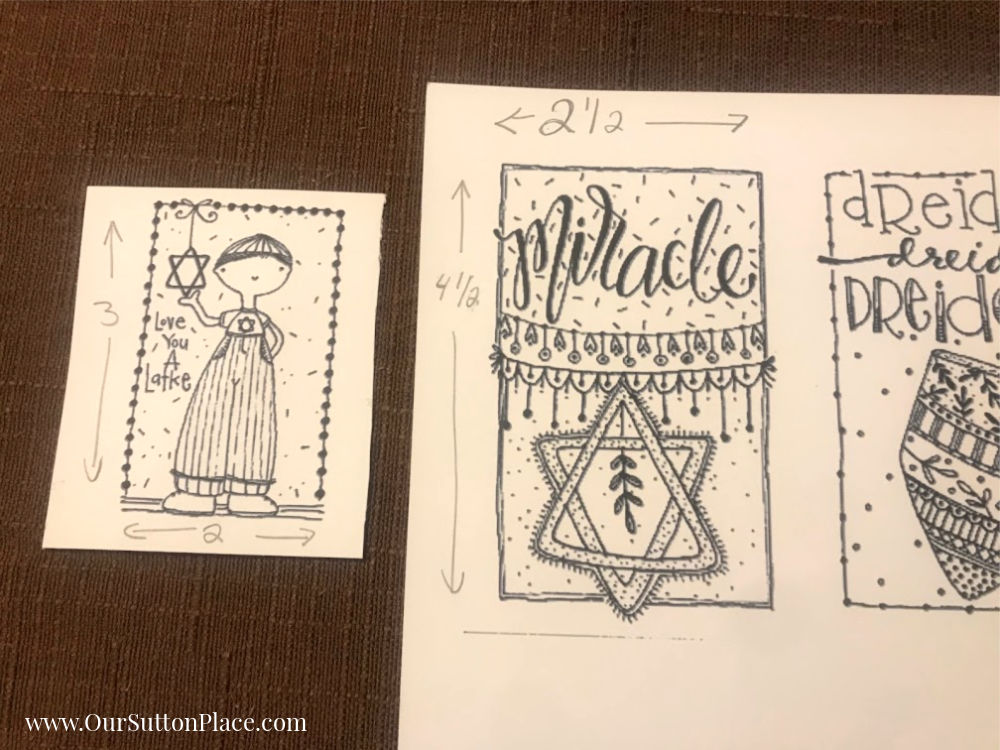
If you’d like to use the colored card stock for a backing, I’d recommend cutting it to be 3X5. If you’re using the larger graphic, just cut it a little bigger-maybe 3 ½ X 5.
Steps to Make the DIY Hanukkah Card
Step 1: Use the colored pencils and color in your selected graphic then cut it down to size.
Step 2: If you’d like to use a colored backing, cut the colored card stock into 3X5 pieces.
Step 3: Glue to colored card stock. If you’d like to add decorative Washi tape between the layers (as shown in the picture above), do so now.
Step 4: Glue down the Hanukkah graphic
Step 5: Decorate with stickers or doodles, etc. if you’d like.
Step 6: Send to a friend or loved one.
How to Order your DIY Hanukkah Card Kit.
Click here to order your DIY Hanukkah Card Kit. Use Code: OURSUTTONPLACE to save 10% off on your order.
BONUS: This discount code will work on anything in the shop, so be sure to check out all of their beautiful Hanukkah décor and Judaica items.
Hanukkah Gift Tag
To make a Gift Tag, follow the same instructions but cut the blue card stock a little larger. After the Hanukkah graphic is glued, label the gift tag for the recipient and punch a hole for the twine. Loop through the twine, then tape to your gift. Enjoy.
How to make a Hanukkah Bookmark
My girls had a BLAST with this extra idea.
One of our favorite Hanukkah traditions is reading all of our Hanukkah books, I thought Bookmarks would be perfect!
To make the bookmark, follow the instructions above, but select the smaller 3X 2 size graphic.
Cut the card stock into strips 7” X 2 ½ inches wide.
Color and cut your selected image then glue it to the bookmark strip.
Punch a hole in the top and feed through either the included twine or ribbon (if you have some in your house).
Decorate with stickers and enjoy!
Watch Our Video for More Detail
For more tips on all 3 of these great Hanukkah activities, please watch our YouTube video.
Additionally, we’ll be using them as covers for our special Hanukkah memory book. Check back later this week to see how that comes out.
More about Peace Love Light Shop
Peace Love Light Shop is an online retailer of artisan Judaica. Visit them online here. And be sure to use your special 10% off coupon with the code: OURSUTTONPLACE
BONUS: Remember, this discount code will work on anything in the shop, so be sure to check out all of their beautiful Hanukkah décor and Judaica items.
Looking for more Hanukkah family fun?
Check out these great Hanukkah related posts:
How to get Started with Mensch on a Bench
Top 20 FAMILY – FRIENDLY Mensch on a Bench
Festive Mint Chocolate Hanukkah Cookies
And Happy Holidays from Our Place to Yours.
Don’t forget to PIN this post to save it!
Tell Your Story-Live Creatively

Sign up for our newsletter and receive the On-The-Road Photography Checklist! Never miss another important photo opportunity again.
HI! I’m a Shana, self-proclaimed Media Mixologist, wife, and mom to two little girls. I love to mix up cocktails of crafts, recipes, wellness, family and business with just the right amount of sparkle to help you shine everyday. So, grab a glass, and let’s celebrate the cocktail of life!
[…] Mess-Free DIY Hanukkah Cards and Crafts […]