We do a lot of long road trips traveling from Georgia back up North to…
How to Make Super Delicious, Oven-Fried Potato Latkes, Mess-Free!
This super simple oven-fried latke recipe is delicious and oven-baked so you don’t have to stand over a hot skillet and can instead focus on other holiday needs.
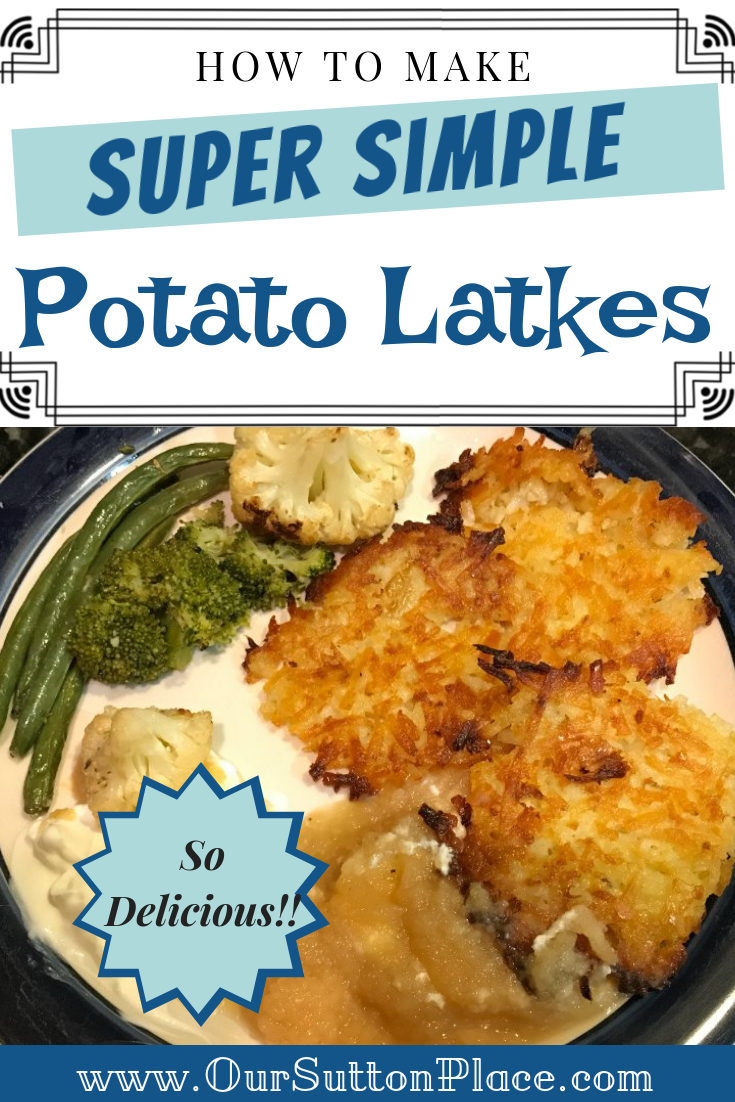
How to Make Super Delicious, Oven-Fried Potato Latkes, Mess-Free!
Latkes—fried potato pancakes, are such an important part of Hanukkah. Slice up some potatoes, add an egg, maybe some flour, fry them in oil and you’re done. Easy enough, right?
Wrong.
There’s an art to it, and it’s….
…much easier said than done.
They need to come out light, lace-y, crunchy.
I’ve tried making them in the past, and it’s just never worked out. They were either too thick, too greasy, or too burnt.
I could never get them just right.
So, I started defaulting to the pre-made frozen latkes from Trader Joes. (They’re actually quite good, and my kids LOVED them.)
But this year, I was determined to finally GET IT RIGHT!
I looked online and found this great recipe from King Arthur Flour in which you bake the latkes in the oven. I absolutely loved this idea—not only does it create a mess-free way of dealing with all that oil (ie: no oil splatters), but by using the oven, you don’t have to stand over the frying pan and it frees up your time so you can work on side-dishes or other things. #loveit!
This super simple oven-fried latke recipe is delicious and oven-baked so you don't have to stand over a hot skillet and can instead focus on other holiday needs. Click To TweetBUT WAIT— I couldn’t stop there. I had to make it EVEN EASIER than the King Arthur recipe.
My SECRET?
Pre-shredded potatoes!
Part of the art of making good latkes is getting the shredded potatoes JUST right.
And I’ve found that using pre-shredded breakfast potatoes usually works—especially if you don’t have a food processor.
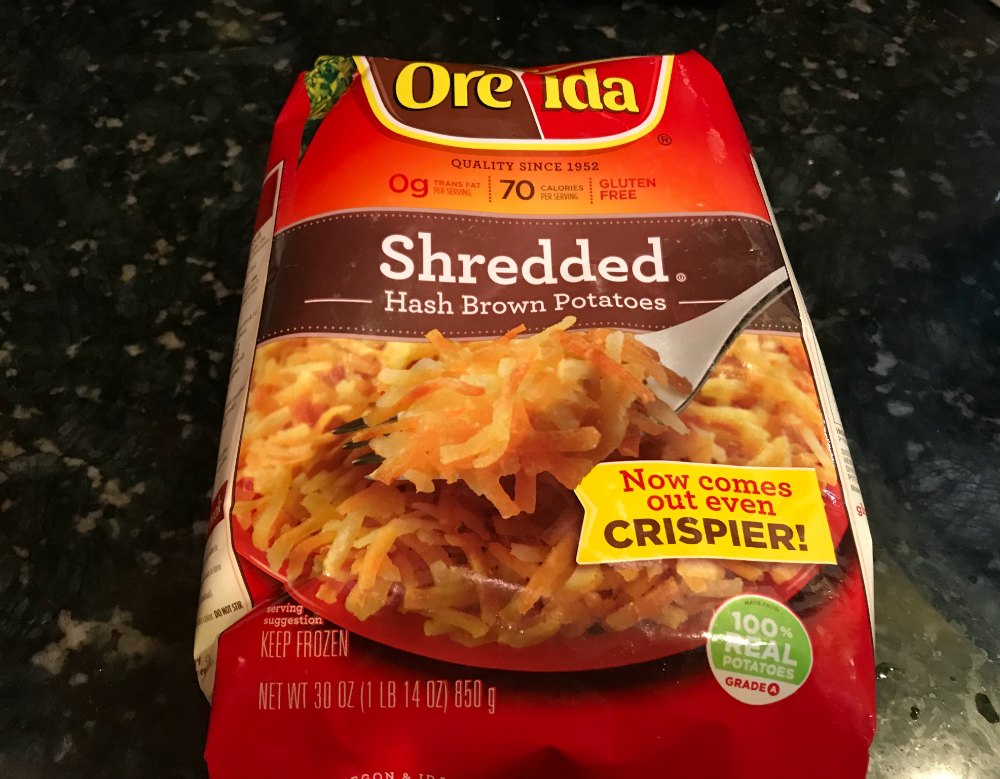
We used these from Ore Ida.
And make sure you use peanut oil! It makes all the difference. It adds a decadent richness that will have everyone asking for more.
(Of course, if you have a peanut allergy, you can use vegetable oil).
Related Posts
Family-Friendly Haute Hanukkah Decor
Mess-Free DIY Hanukkah Cards and Crafts
Now on to the recipe.
Note-this recipe was originally inspired by the King Arthur recipe, but I made some changes –example, I sautéed my onions and used pre-shredded potatoes).
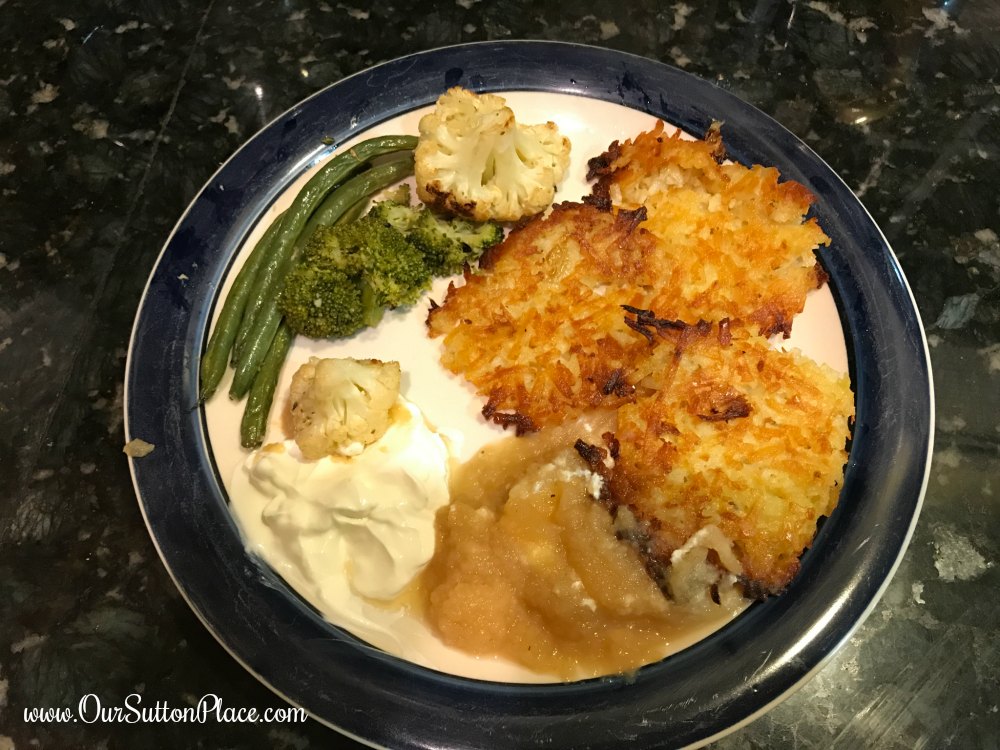
How to make Super Delicious, Oven-fried Potato Latkes, Mess-Free!
*Scroll down for a printable version of this recipe.
Ingredients:
- 1 bag of Ore Ida shredded potatoes
- 1 medium onion, peeled and finely diced or shredded; about 3/4 cup shredded onion
- 1 large egg
- 2 tablespoons Unbleached All-Purpose Flour
- about 1/2 cup peanut oil or vegetable oil, for frying
- Rimmed Cookie Sheet (1 or more)
Steps:
- Preheat the oven to 400°F.
- Saute your onions in a skillet with some peanut oil (or oil of your choosing) until nice and translucent.
- Add your pre-shredded potatoes to a large bowl.
- Next, add the sautéed onions, flour, and egg.
- Gently stir all ingredients until combined. Be careful not to mash the potatoes.
- Line two rimmed baking sheets with aluminum foil. (If you can find easy-release foil, this works even better). Using the aluminum foil (easy release or regular)allows for easier clean-up.
- Pour 1/4 cup oil into each baking sheet, tilting the baking pan to spread it around.
- Place your pans into the oven, and allow the oil to heat for 2 minutes. This will help the latkes avoid sticking. (If you are using easy-release aluminum foil you can stick this step.)
- If you’ve heated the pan, remove it from the oven.
- Scoop a heaping 1/4 cup of potato mixture onto the first pan. I used a small ice cream/muffin scoop. Repeat until you’ve filled the pan.
- Next, take a spatula and flatten the latkes to about 3/8″ thick.
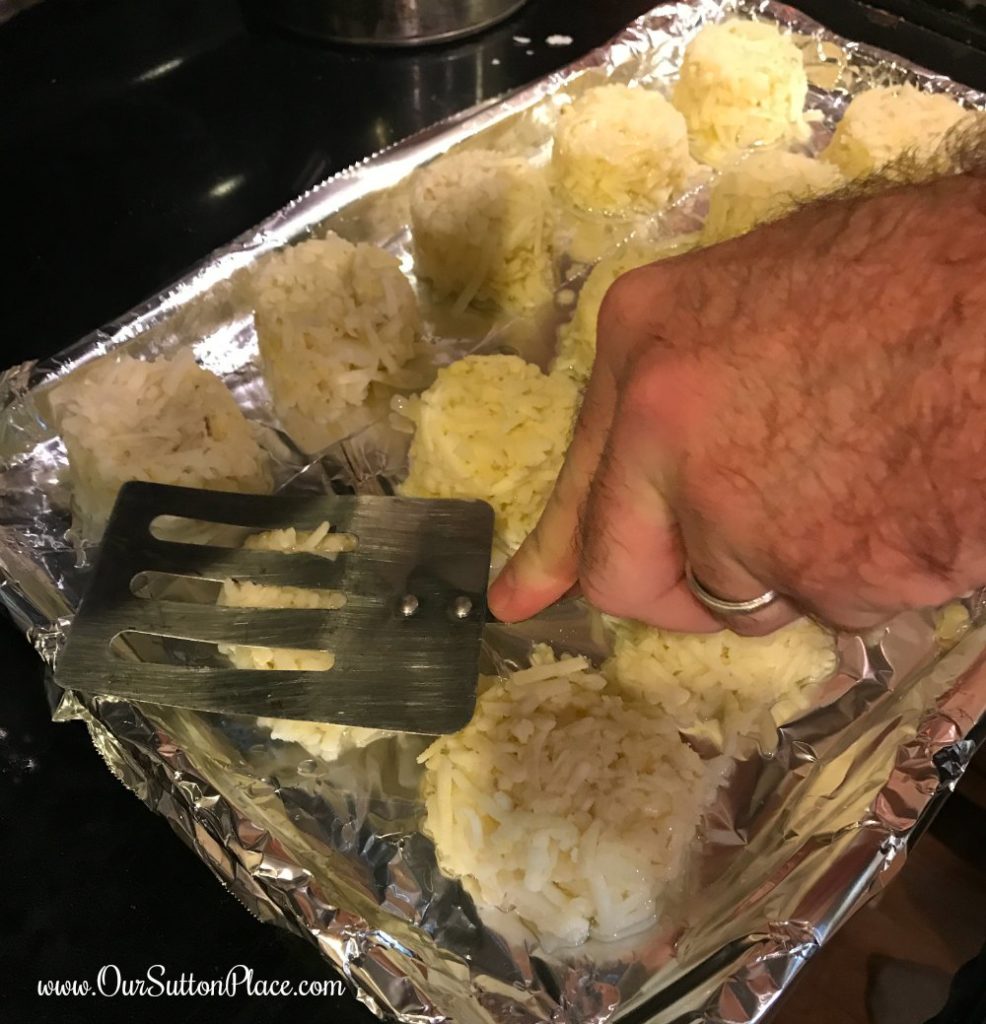 12. Repeat with the second pan and the remaining potatoes.
13. Bake the latkes for 10 minutes. Reverse the pans in the oven — upper pan to the lower rack, lower pan to the upper rack — and bake for an additional 15 minutes, till the bottoms of the latkes are golden brown.
14. Remove the pans from the oven, and carefully flip the latkes. If they’re still sticky, then bake for a few more minutes until they’re thoroughly cooked on the bottom. Once they’re done, they should flip over without sticking.
15. Bake for an additional 10 minutes, until the bottoms are nicely browned.
16. Remove the latkes from the oven, and serve warm.
Enjoy!
- 1 bag of Ore Ida shredded potatoes
- 1 medium onion, peeled and finely diced or shredded; about 3/4 cup shredded onion
- 1 large egg
- 2 tablespoons Unbleached All-Purpose Flour
- about 1/2 cup peanut oil or vegetable oil, for frying
- Rimmed Cookie Sheet (1 or more)
- reheat the oven to 400°F.
- Saute your onions in a skillet with some peanut oil (or oil of your choosing) until nice and translucent.
- Add your pre-shredded potatoes to a large bowl.
- Next, add the sautéed onions and egg.
- Gently stir all ingredients until combined. Be careful not to mash the potatoes.
- Line two rimmed baking sheets with aluminum foil. (If you can find easy-release foil, this works even better). Using the aluminum foil (easy release or regular)allows for easier clean-up.
- Pour 1/4 cup oil into each baking sheet, tilting the baking pan to spread it around.
- Place your pans into the oven, and allow the oil to heat for 2 minutes. This will help the latkes avoid sticking. (If you are using easy-release aluminum foil you can stick this step.)
- If you’ve heated the pan, remove it from the oven.
- Scoop a heaping 1/4 cup of potato mixture onto the first pan. I used a small ice cream/muffin scoop. Repeat until you’ve filled the pan.
- Next, take a spatula and flatten the latkes to about 3/8″ thick.
- Repeat with the second pan and the remaining potatoes.
- Bake the latkes for 10 minutes. Reverse the pans in the oven — upper pan to the lower rack, lower pan to the upper rack — and bake for an additional 15 minutes, till the bottoms of the latkes are golden brown.
- Remove the pans from the oven, and carefully flip the latkes. If they’re still sticky, then bake for a few more minutes until they’re thoroughly cooked on the bottom. Once they’re done, they should flip over without sticking.
- Bake for an additional 10 minutes, until the bottoms are nicely browned.
- Remove the latkes from the oven, and serve warm.
Here’s a picture that I posted on Instagram. For more Hanukkah fun, don’t forget to follow me on Instagram! Click here now.

Happy Hanukkah, everyone!
Don’t forget to check out these other great Hanukkah articles:
Family-Friendly yet Modern and Sophisticated Hanukkah Decor
Mensch on a Bench for Beginners
Family-Friendly Mensch on a Bench Ideas
Mint Chocolate Pinwheel Cookies
Mess-Free Hanukkah Cards and Crafts
Tell Your Story-Live Creatively

Sign up for our newsletter and receive the On-The-Road Photography Checklist! Never miss another important photo opportunity again.
HI! I’m a Shana, self-proclaimed Media Mixologist, wife, and mom to two little girls. I love to mix up cocktails of crafts, recipes, wellness, family and business with just the right amount of sparkle to help you shine everyday. So, grab a glass, and let’s celebrate the cocktail of life!




Leave a Reply