These soft and chewy white chocolate chip cookies are a festive take on a classic…
How to Make Festive and Yummy Mint Chocolate Pinwheel Cookies
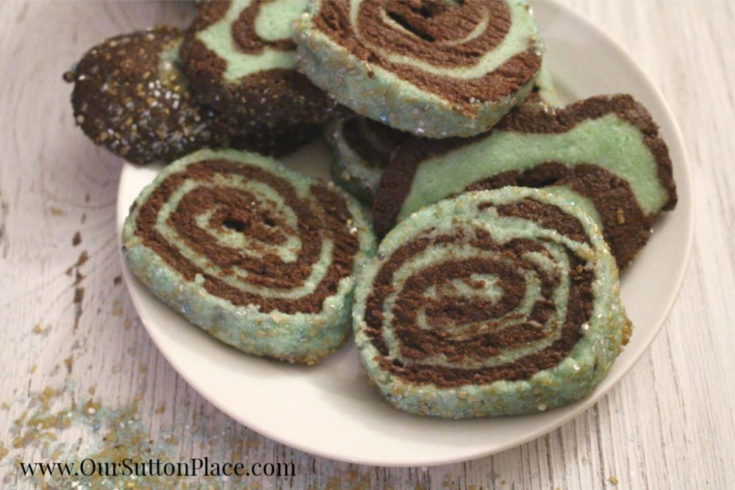
These mint chocolate pinwheel cookies are perfect for any holiday gathering or cookie exchange. It’s an easy holiday cookie recipe that everyone will enjoy. My kids loved helping me create these festive, colorful cookies and we loved sharing them our holiday party. They can easily be customized to suit your party needs.
This post is sponsored by Imperial Sugar. All opinions are my own. Additionally, this post may contain affiliate links to Amazon products. There is no additional charge to you, however, I may receive a small commission is you make a purchase.

Welcome to Choctoberfest Day #4!
Are you drooling at all of these delicious posts? Mmm so yummy.
Don’t forget to enter our big #Choctoberfest Giveaway!!!! You’ll win a chocolate-packed prize pack valued at over $400! Enter HERE.
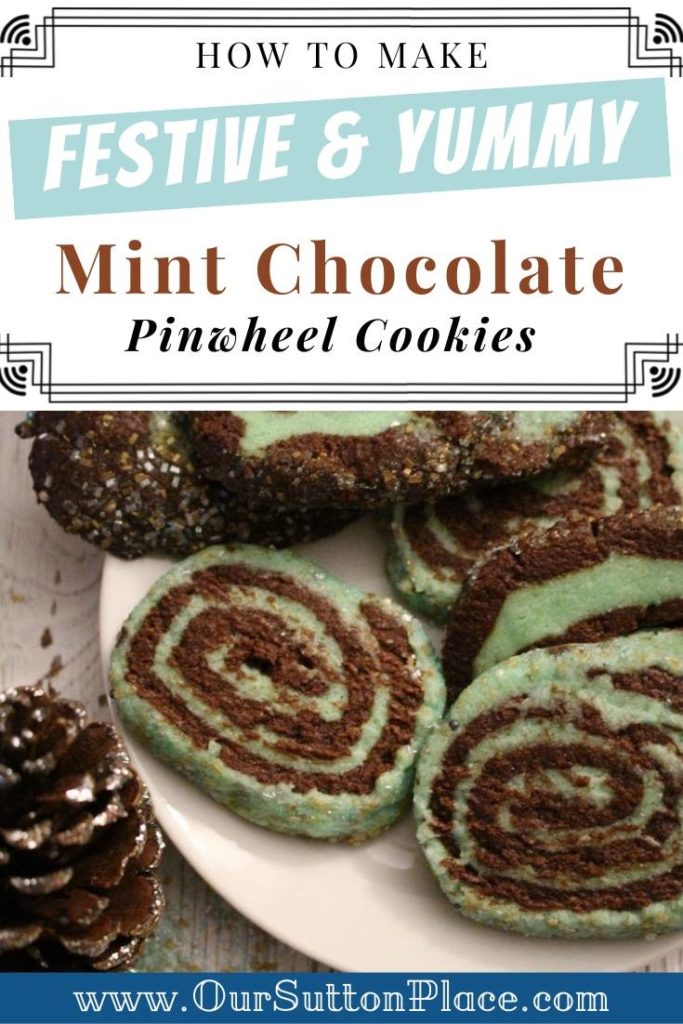
Each year during #Choctoberfest, I try to create a balance of healthier chocolate recipes mixed with some that are more indulgent. And guess what people….it’s time to get indulgent!
You are going to love these fun and festive mint chocolate swirl pinwheel cookies!
The chocolate layer is so rich, it almost tastes like a brownie. Mmmm
In addition to being packed with flavor, they’re super pretty. Great eye candy.
Perfect for parties, cookie exchanges, and holiday get-togethers.
And my favorite part—-they’re great for interfaith parties—so if you have some folks celebrating Hanukkah and some celebrating Christmas together—they’re perfect!
How to make Mint Chocolate Pinwheel Cookies
SCROLL DOWN FOR PRINTABLE RECIPE CARD
Note: This recipe is adapted from Irvin Lin’s Holiday Pinwheel Cookies. I liked his version because he explains how to divide the dough into 4 balls to help facilitate different color variations.
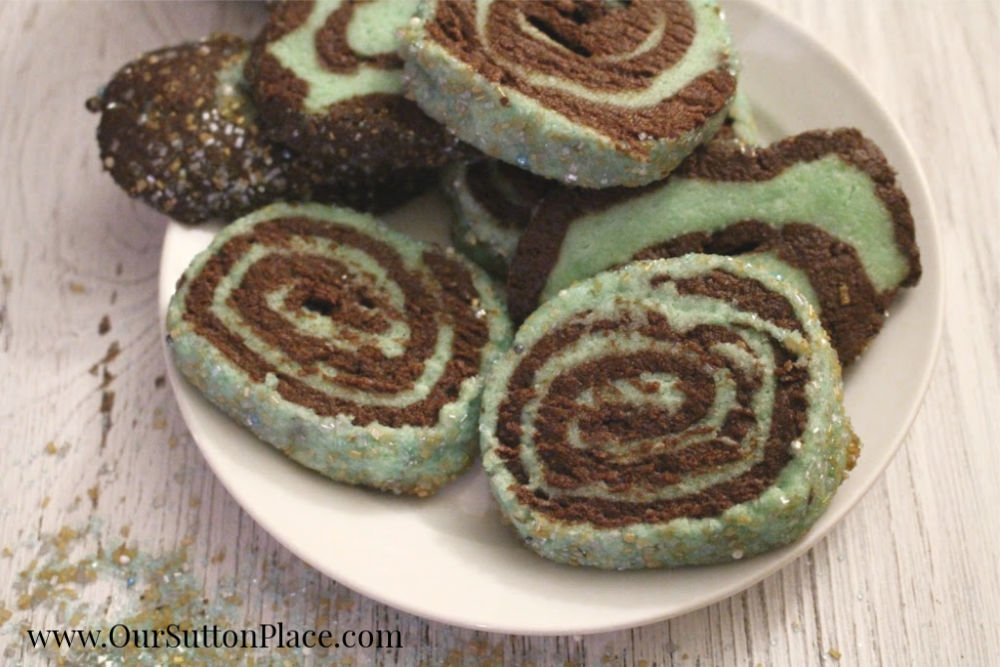
The great thing about a good pinwheel cookie recipe is that you can use the steps and just switch out flavors or colors to make it your own.
We’re going to start out with making vanilla cookie dough.
We’ll be splitting the dough in half (creating 2 balls). One ball will turn into the green minty layer and the other ball will have cocoa powder added so it can become the chocolate layer.
To create the minty green layer, take your plain dough and add the peppermint extract and green food coloring. Combine on low in your mixer for 2 minutes. When it’s done, wrap it in plastic wrap and refrigerate for at least 30 minutes.
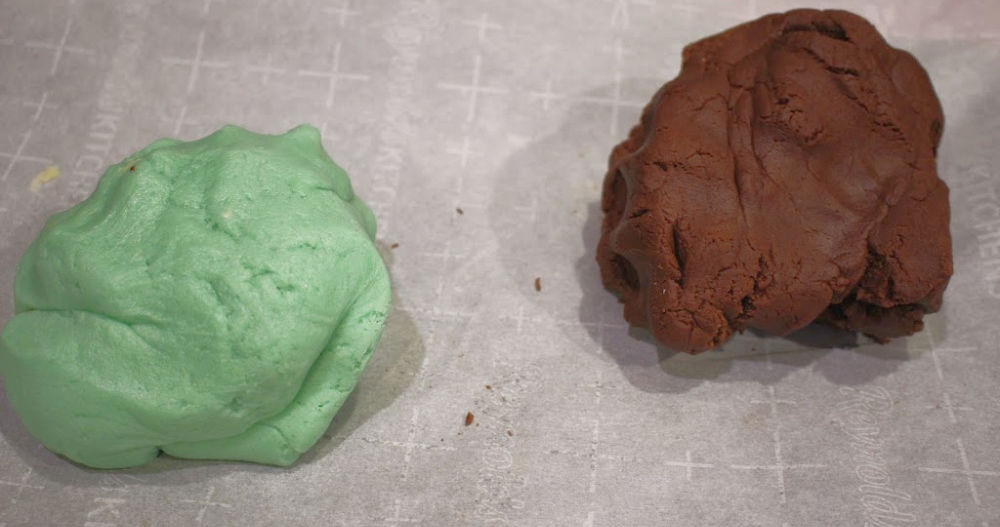
To create the chocolate layer, add the cocoa powder and mix well for 2 minutes. Again, when it’s done, wrap it in plastic wrap and refrigerate for at least 30 minutes.
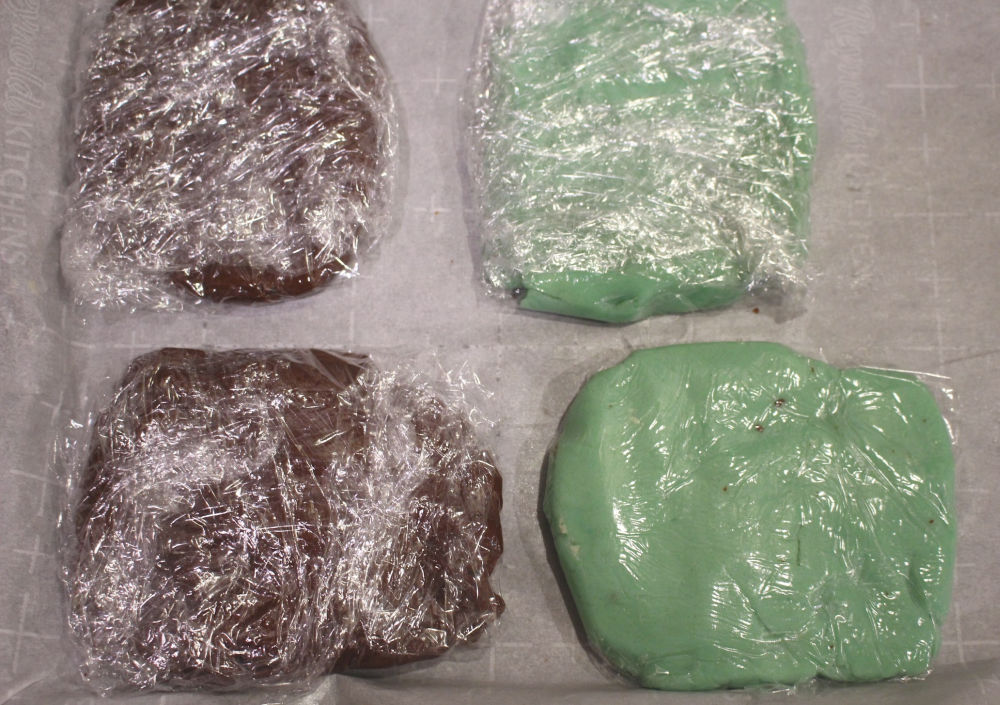
Once you take your dough out of the refrigerator, you’ll need to roll it out into a long rectangle.
The dough will be a little hard since it’s cold. Just use your strength or maybe let it soften for 10 minutes.
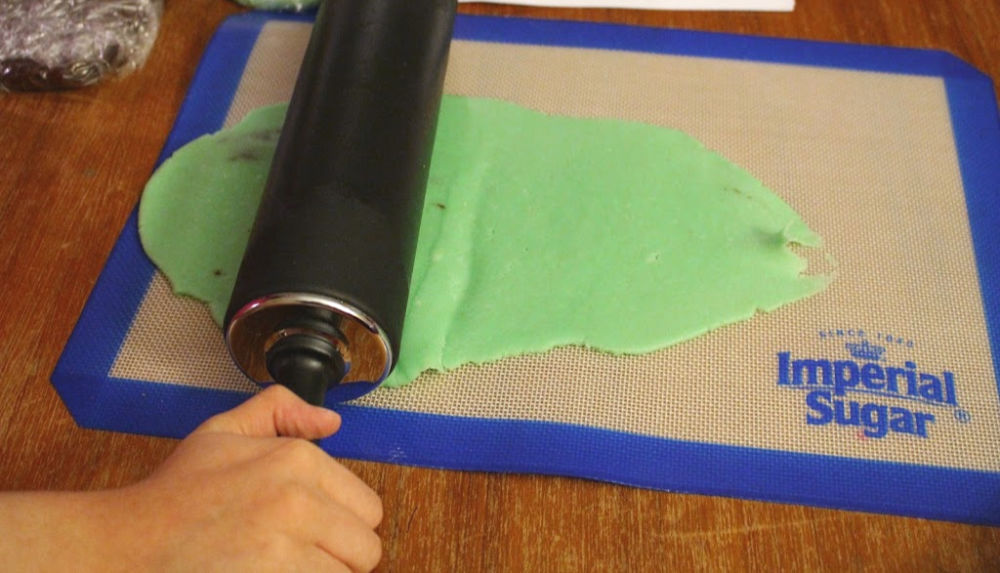
We used our nice silicone mats that we received from Imperial Sugar. If you don’t have a silicone mat, I’d recommend this one.
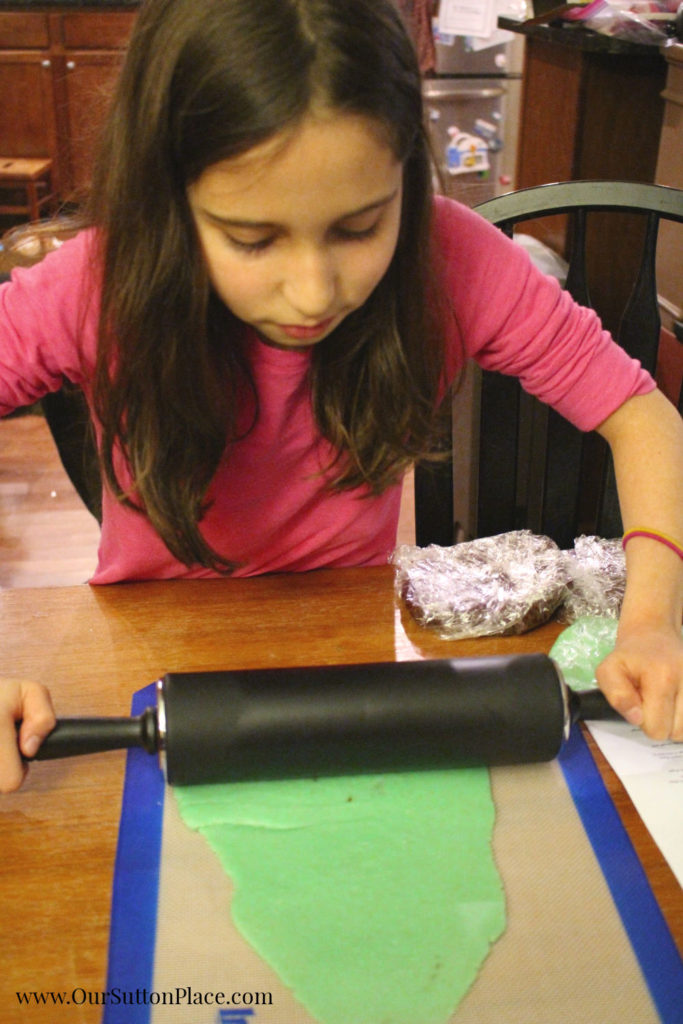
My kids loved getting involved in rolling the dough (after it softened).
After you roll out the dough, lay it on top of the opposite color, for example: green on bottom, chocolate on top.
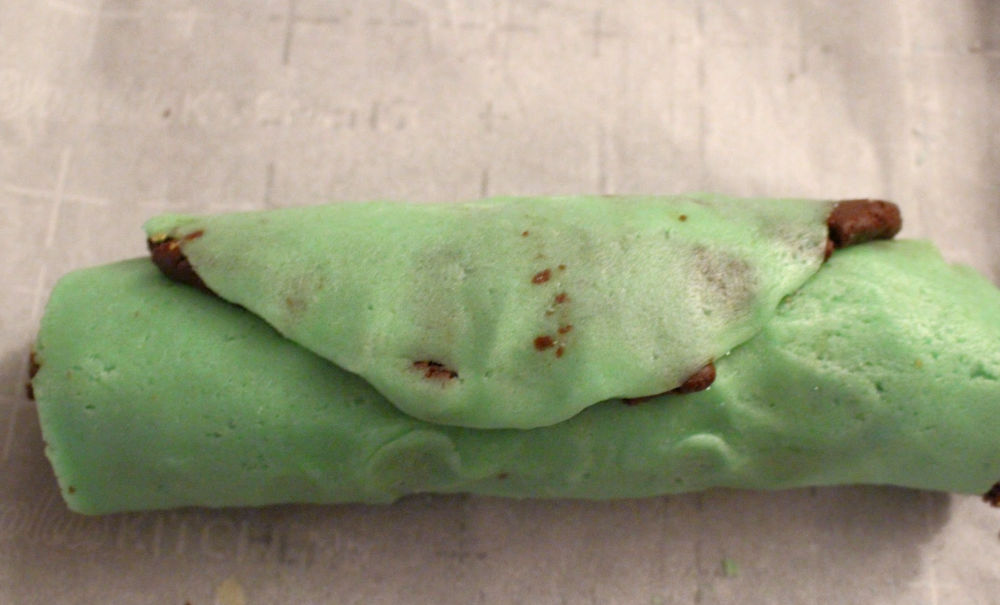
Repeat this with the other 2 balls of dough, but this time place the opposite color on the bottom (so chocolate on bottom, green on top). Roll it into a log.
Next, take your cookie log, hold it over a plate and shower it with sprinkles. You can also roll it in sprinkles. Both ways work.

As you can imagine, this was my daughters’ favorite part!
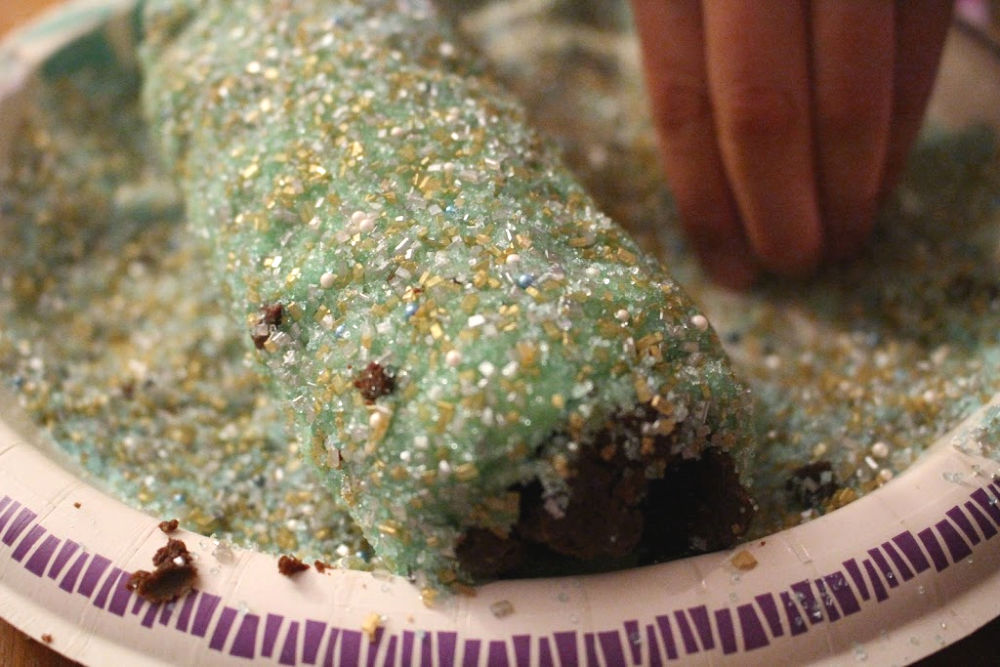
Now you’re ready to slice the dough into cookies. Simply make 1/4-1/2 inch size slice and lay them on the cookie sheet. Bake at 350 degrees for 10-12 minutes.
Let them cool on a wire rack and repeat the process until you’ve baked all the dough.
Enjoy!

Tips for making the prefect Mint Chocolate Pinwheel cookies
• I used the light sugar crystal sprinkles so it gave an extra sparkly look—it reminded me of shimmering snow.
• The hardest part about this recipe is the fact that you have to have a little bit of patience and you need to follow directions. But it’s not too complicated.
• This was the first time I made a multi-step cookie recipe. And let me tell you—it was a little scary. I’m not going to lie. But after participating in #Choctoberfest last year, I started feeling BRAVER IN THE KITCHEN. Read more about my journey to kitchen goddess-ness here.
And I knew I was ready to take on a bigger cookie challenge.
Remember, you can’t mess this up. It’s not going to turn into broccoli. Even if your layers look funny—it’ll still taste super delicious!
Options for Customization
My favorite part about this recipe is that it’s so flexible for so many different occasions.
If you want to make this more of a Christmas cookie, feel free to add red food coloring to the layers. Or maybe make the minty green layer a dark green…
Whatever you feel works best for you.
If you want to leave out the cocoa—go ahead.
It’s your dough. I won’t tell anyone.
The point is, this recipe is super versatile. Get creative.
Have fun!
You can’t really mess this up.
Well, unless you burn it. Then it’s toast.
But, as far as colors and layers go—you can’t go wrong.
These mint chocolate pinwheel cookies are perfect for any holiday gathering or cookie exchange. It’s an easy holiday cookie recipe that everyone will enjoy making and eating, especially the kiddos! Also, you can easily change up the color to suit your party needs. #holidaybaking #hanukkahcookies #christmascookies As an Amazon Associate and member of other affiliate programs, I earn from qualifying purchases.How to Make Festive and Yummy Mint Chocolate Pinwheel Cookies
#sponsored Ingredients
Instructions
butter, sugar, and vanilla. (Basically
mix on medium for 2-3 minutes until the batter is fluffy).
incorporated.
and salt. Mix until well incorporated.
divide the dough in half.
add in your food coloring a few drops at a time, mixing until you get the desired
color.
balls, wrap them in plastic wrap and store in the refrigerator for at least 30
minutes.
and add in the cocoa powder, mix until well combined.
balls, wrap them in plastic wrap and store in the refrigerator for at least 30
minutes. I let mine sit overnight.
cookies, preheat the oven to 350 degrees.
roll it out into a rectangle, (one dough ball at a time).
Just use your strength or maybe let it soften for 10 minutes.
of the opposite color, for example: green on bottom, chocolate on top.
on the bottom (so chocolate on bottom, green on top). Roll it into a log.
plate and shower it with sprinkles. You can also roll it in sprinkles. Both ways work.
cookies. Simply make 1/4-1/2 inch size slice and lay them on the cookie
sheet. Bake at 350 degrees for 10-12 minutes.
process until you’ve baked all the dough. Recommended Products
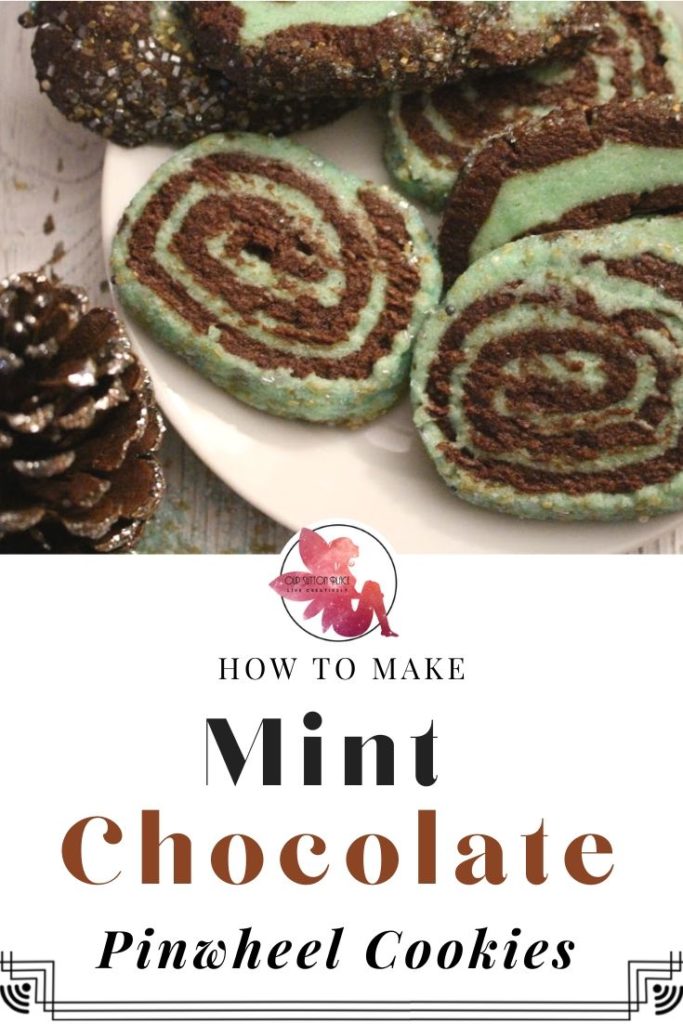
Don’t forget to PIN THIS to read later.
Don’t forget to check out these amazing posts from all of my fellow #Choctoberfest Bloggers!
Tell Your Story-Live Creatively

Sign up for our newsletter and receive the On-The-Road Photography Checklist! Never miss another important photo opportunity again.
HI! I’m a Shana, self-proclaimed Media Mixologist, wife, and mom to two little girls. I love to mix up cocktails of crafts, recipes, wellness, family and business with just the right amount of sparkle to help you shine everyday. So, grab a glass, and let’s celebrate the cocktail of life!





Leave a Reply